


So I’m working on a project and I needed a set of illustrations for a few screens. I shopped around a few sites for not-so-pricey illustrations I could use and couldn’t find any so I did the next logical thing anyone in my situation would do: learn how to create illustrations.
So I’m not going to delve into the details of that journey but it did involve me learning how to first sketch what I was trying to illustrate before actually running off to Figma to get anything done and in this post, I’ll show you how to sketch a very simple face of a smiling man. Now remember, this is a sketch for an illustration, the type you use on apps and websites not for an art exhibition so it’s going to learn heavily towards looking cartooney as against looking lifelike but that’s where we’re going so it’s all good.
All you’ll need for this are a pencil, an eraser and a piece of paper. Any piece of paper that’s large enough and has enough space on it for you to draw on should work just fine.
The Procedure
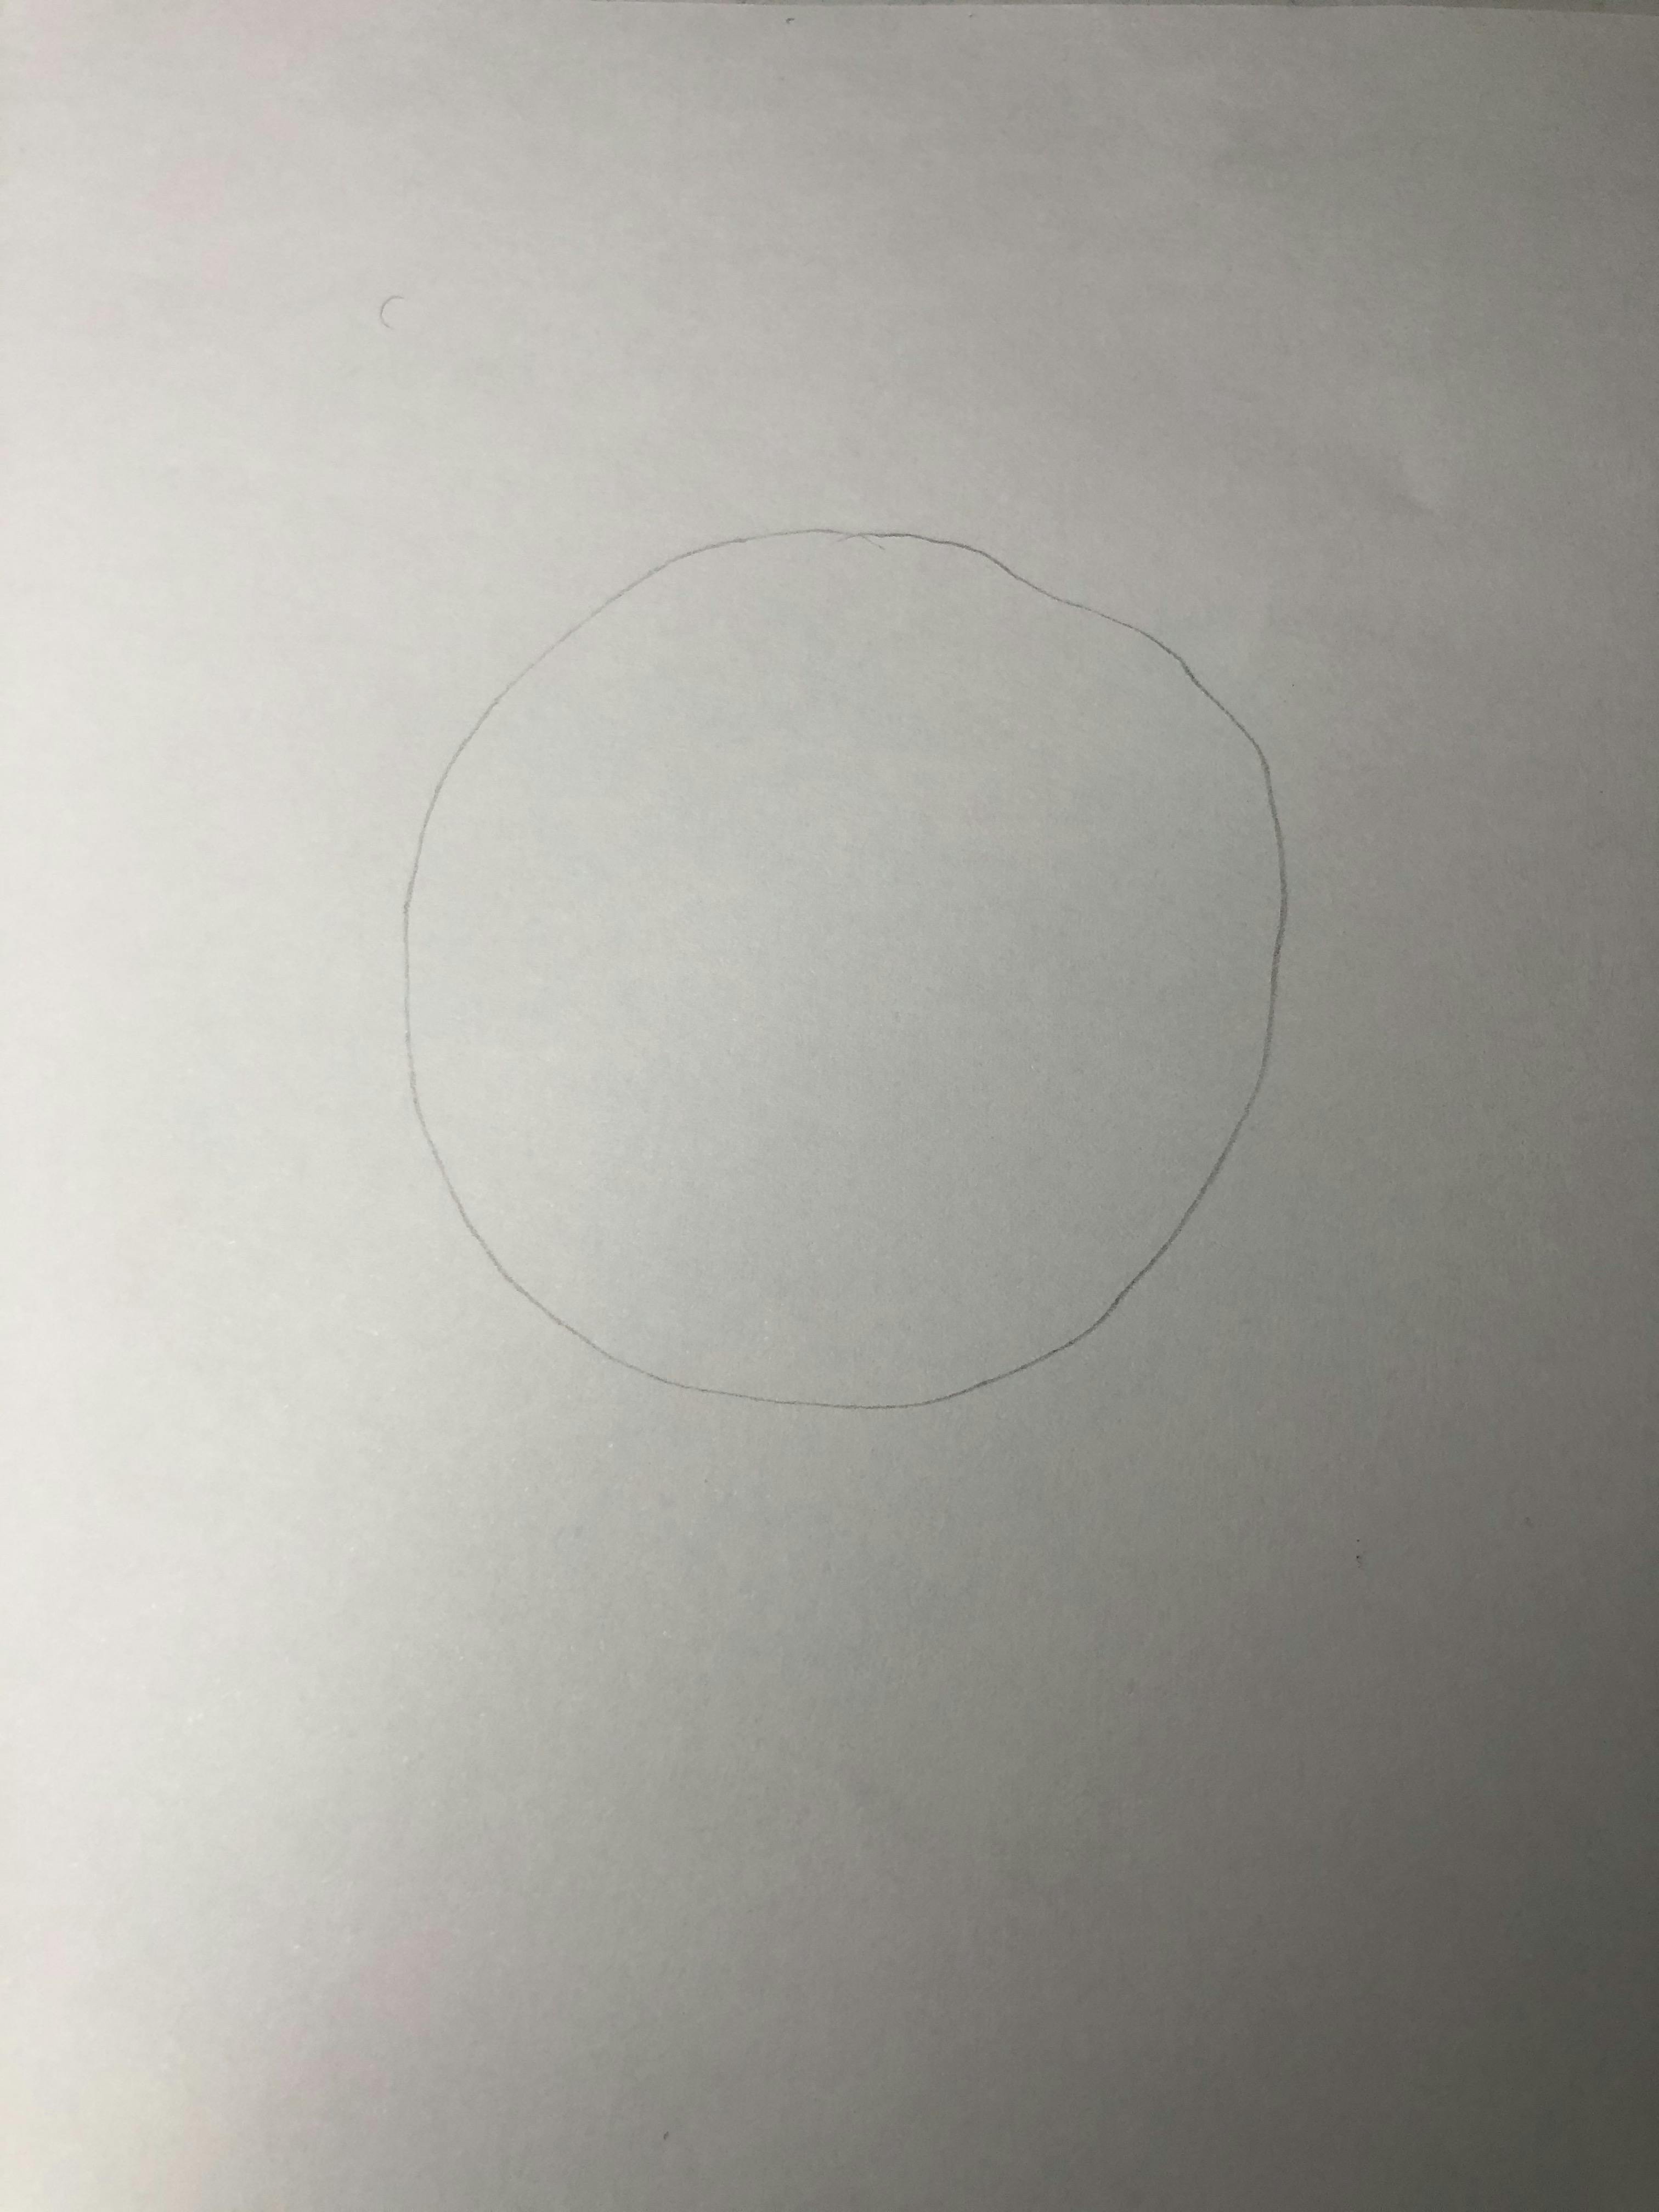
First off, you’ll have to start with a circle. I drew mine freehand but you can use a circular object to create a perfect circle. If you’re not familiar with freehand sketching (I’m not!) and you want to try this entire sketch freehand, your shapes and lines may initially be irregular but with more practice, you’ll get better at drawing them. Also, try to keep your lines light initially because you'll erasing more than a few of them close to the end of the sketch before you do any heavy outlining. Lighter lines would be easier to erase down the line.
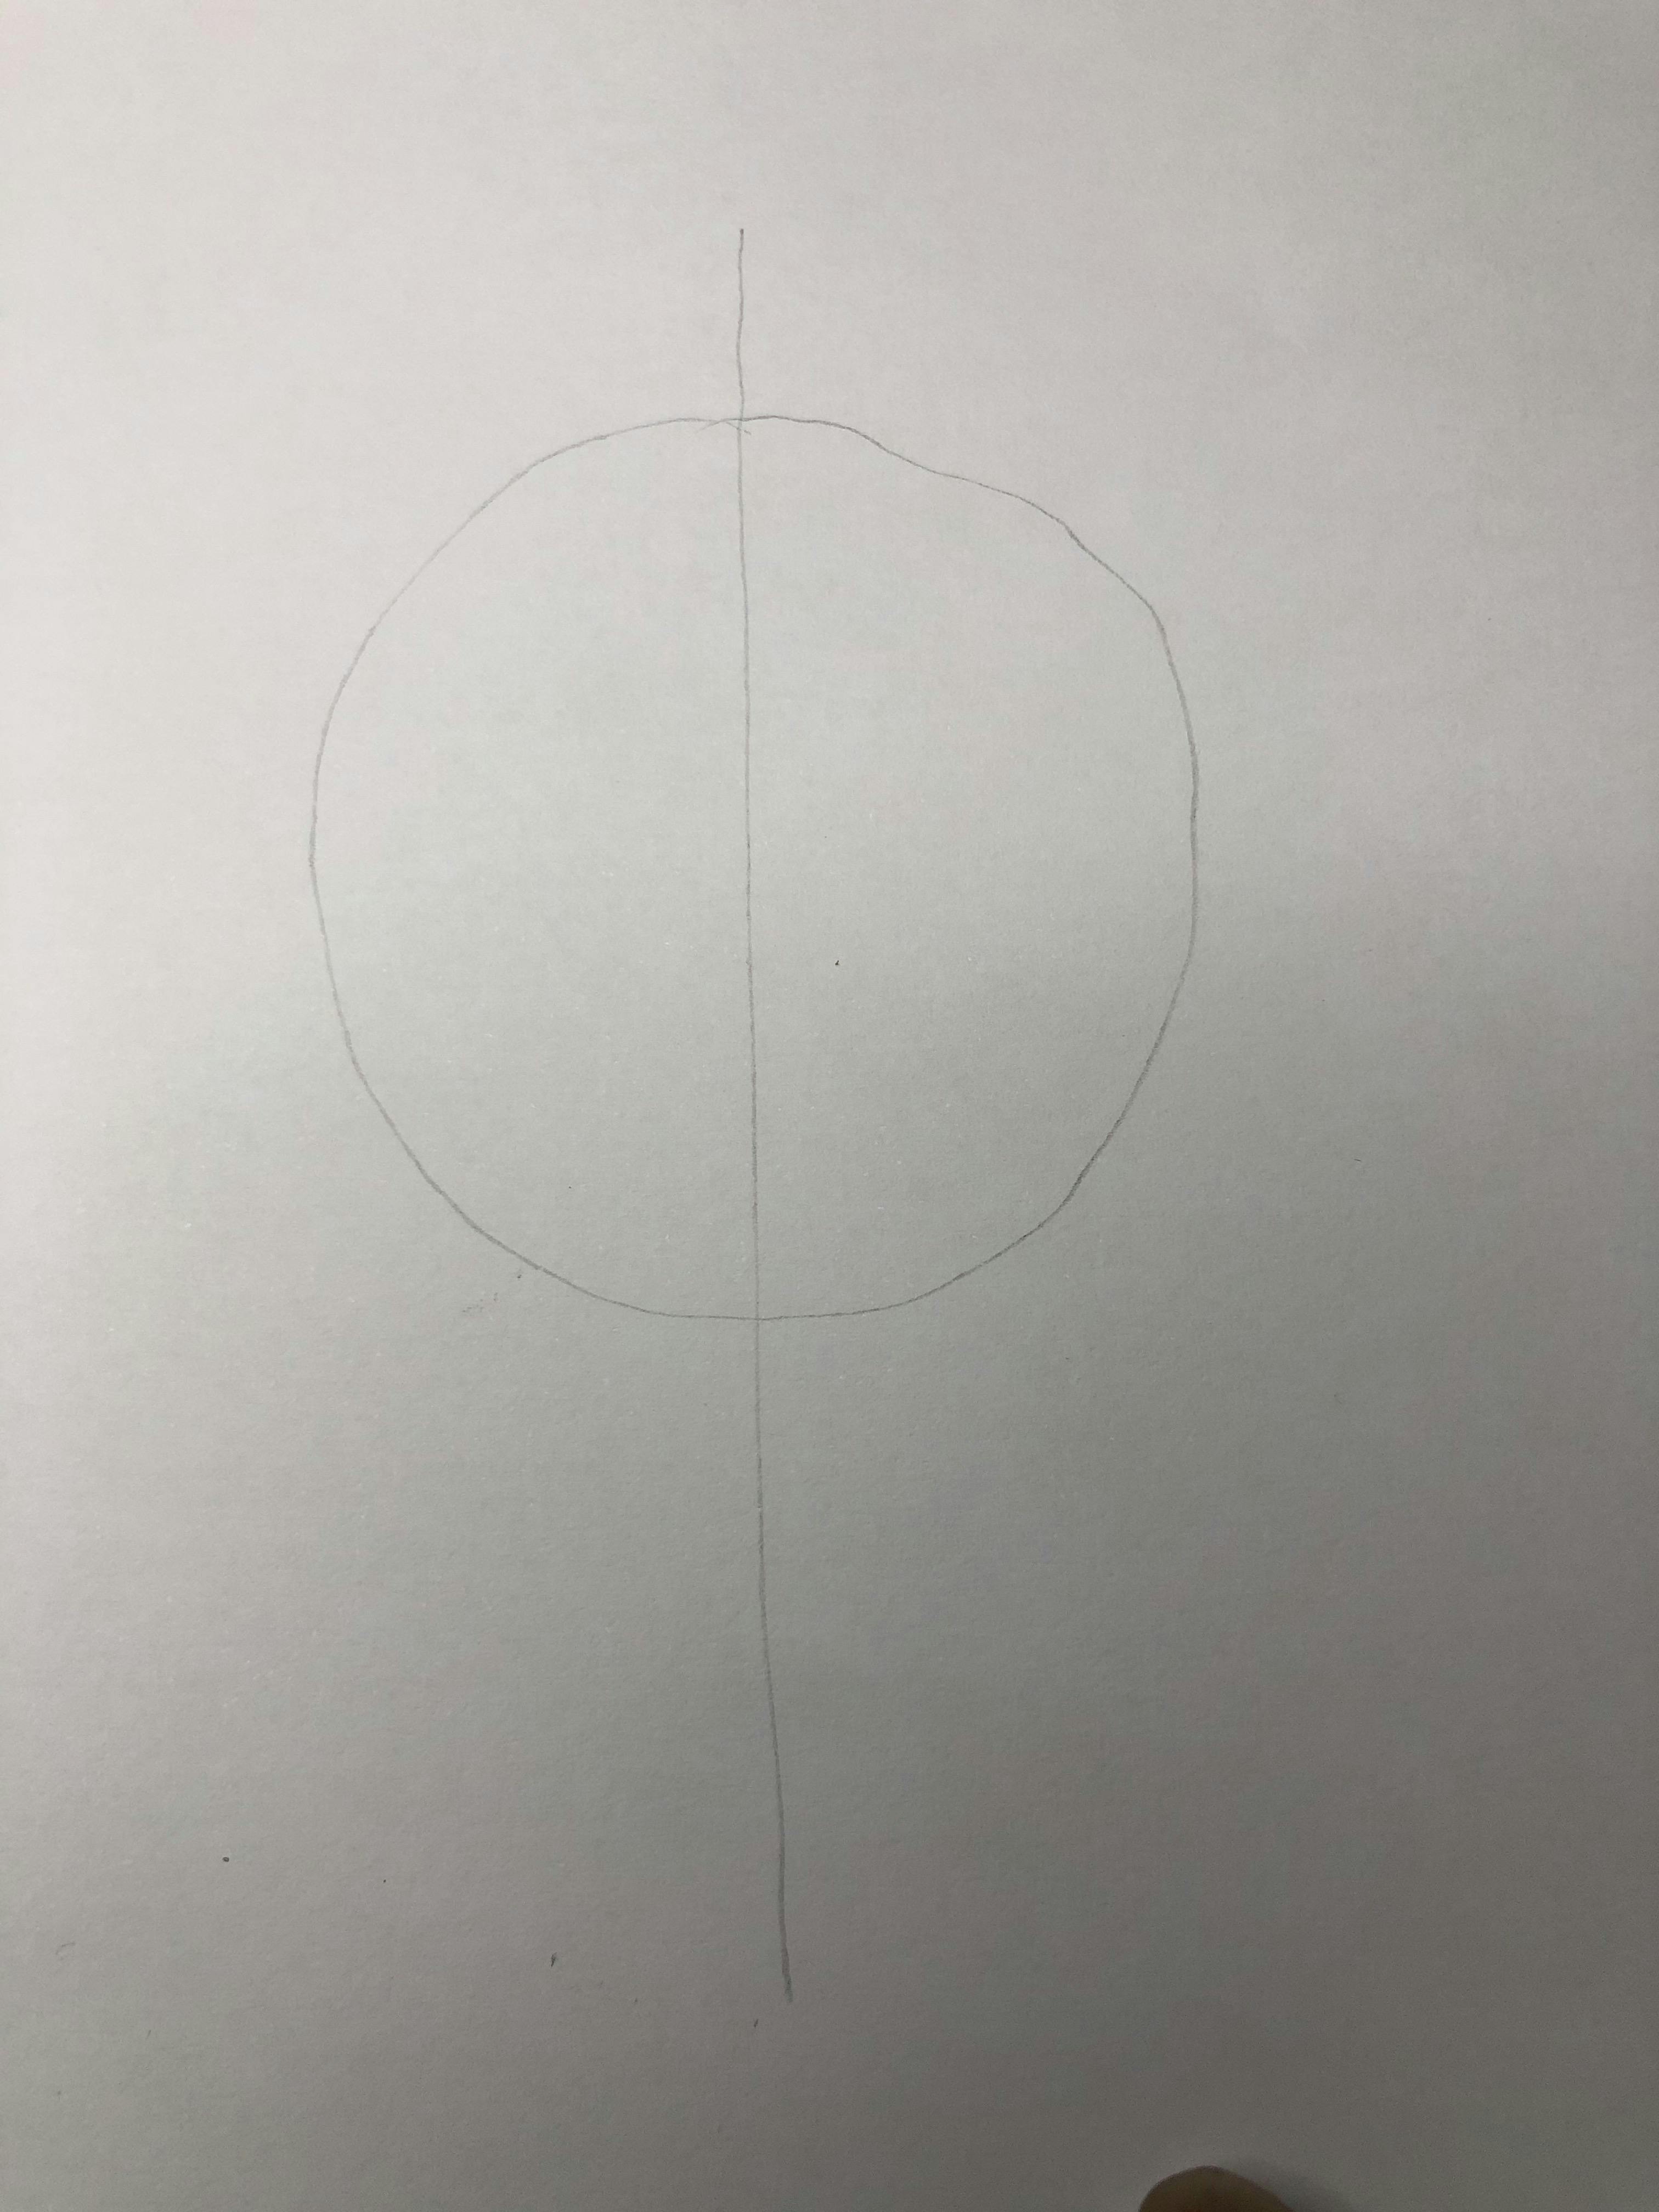
Now that drawing the circle is out of the way, we draw a line down the middle of the circle that divides the circle into two, roughly equal, halves.
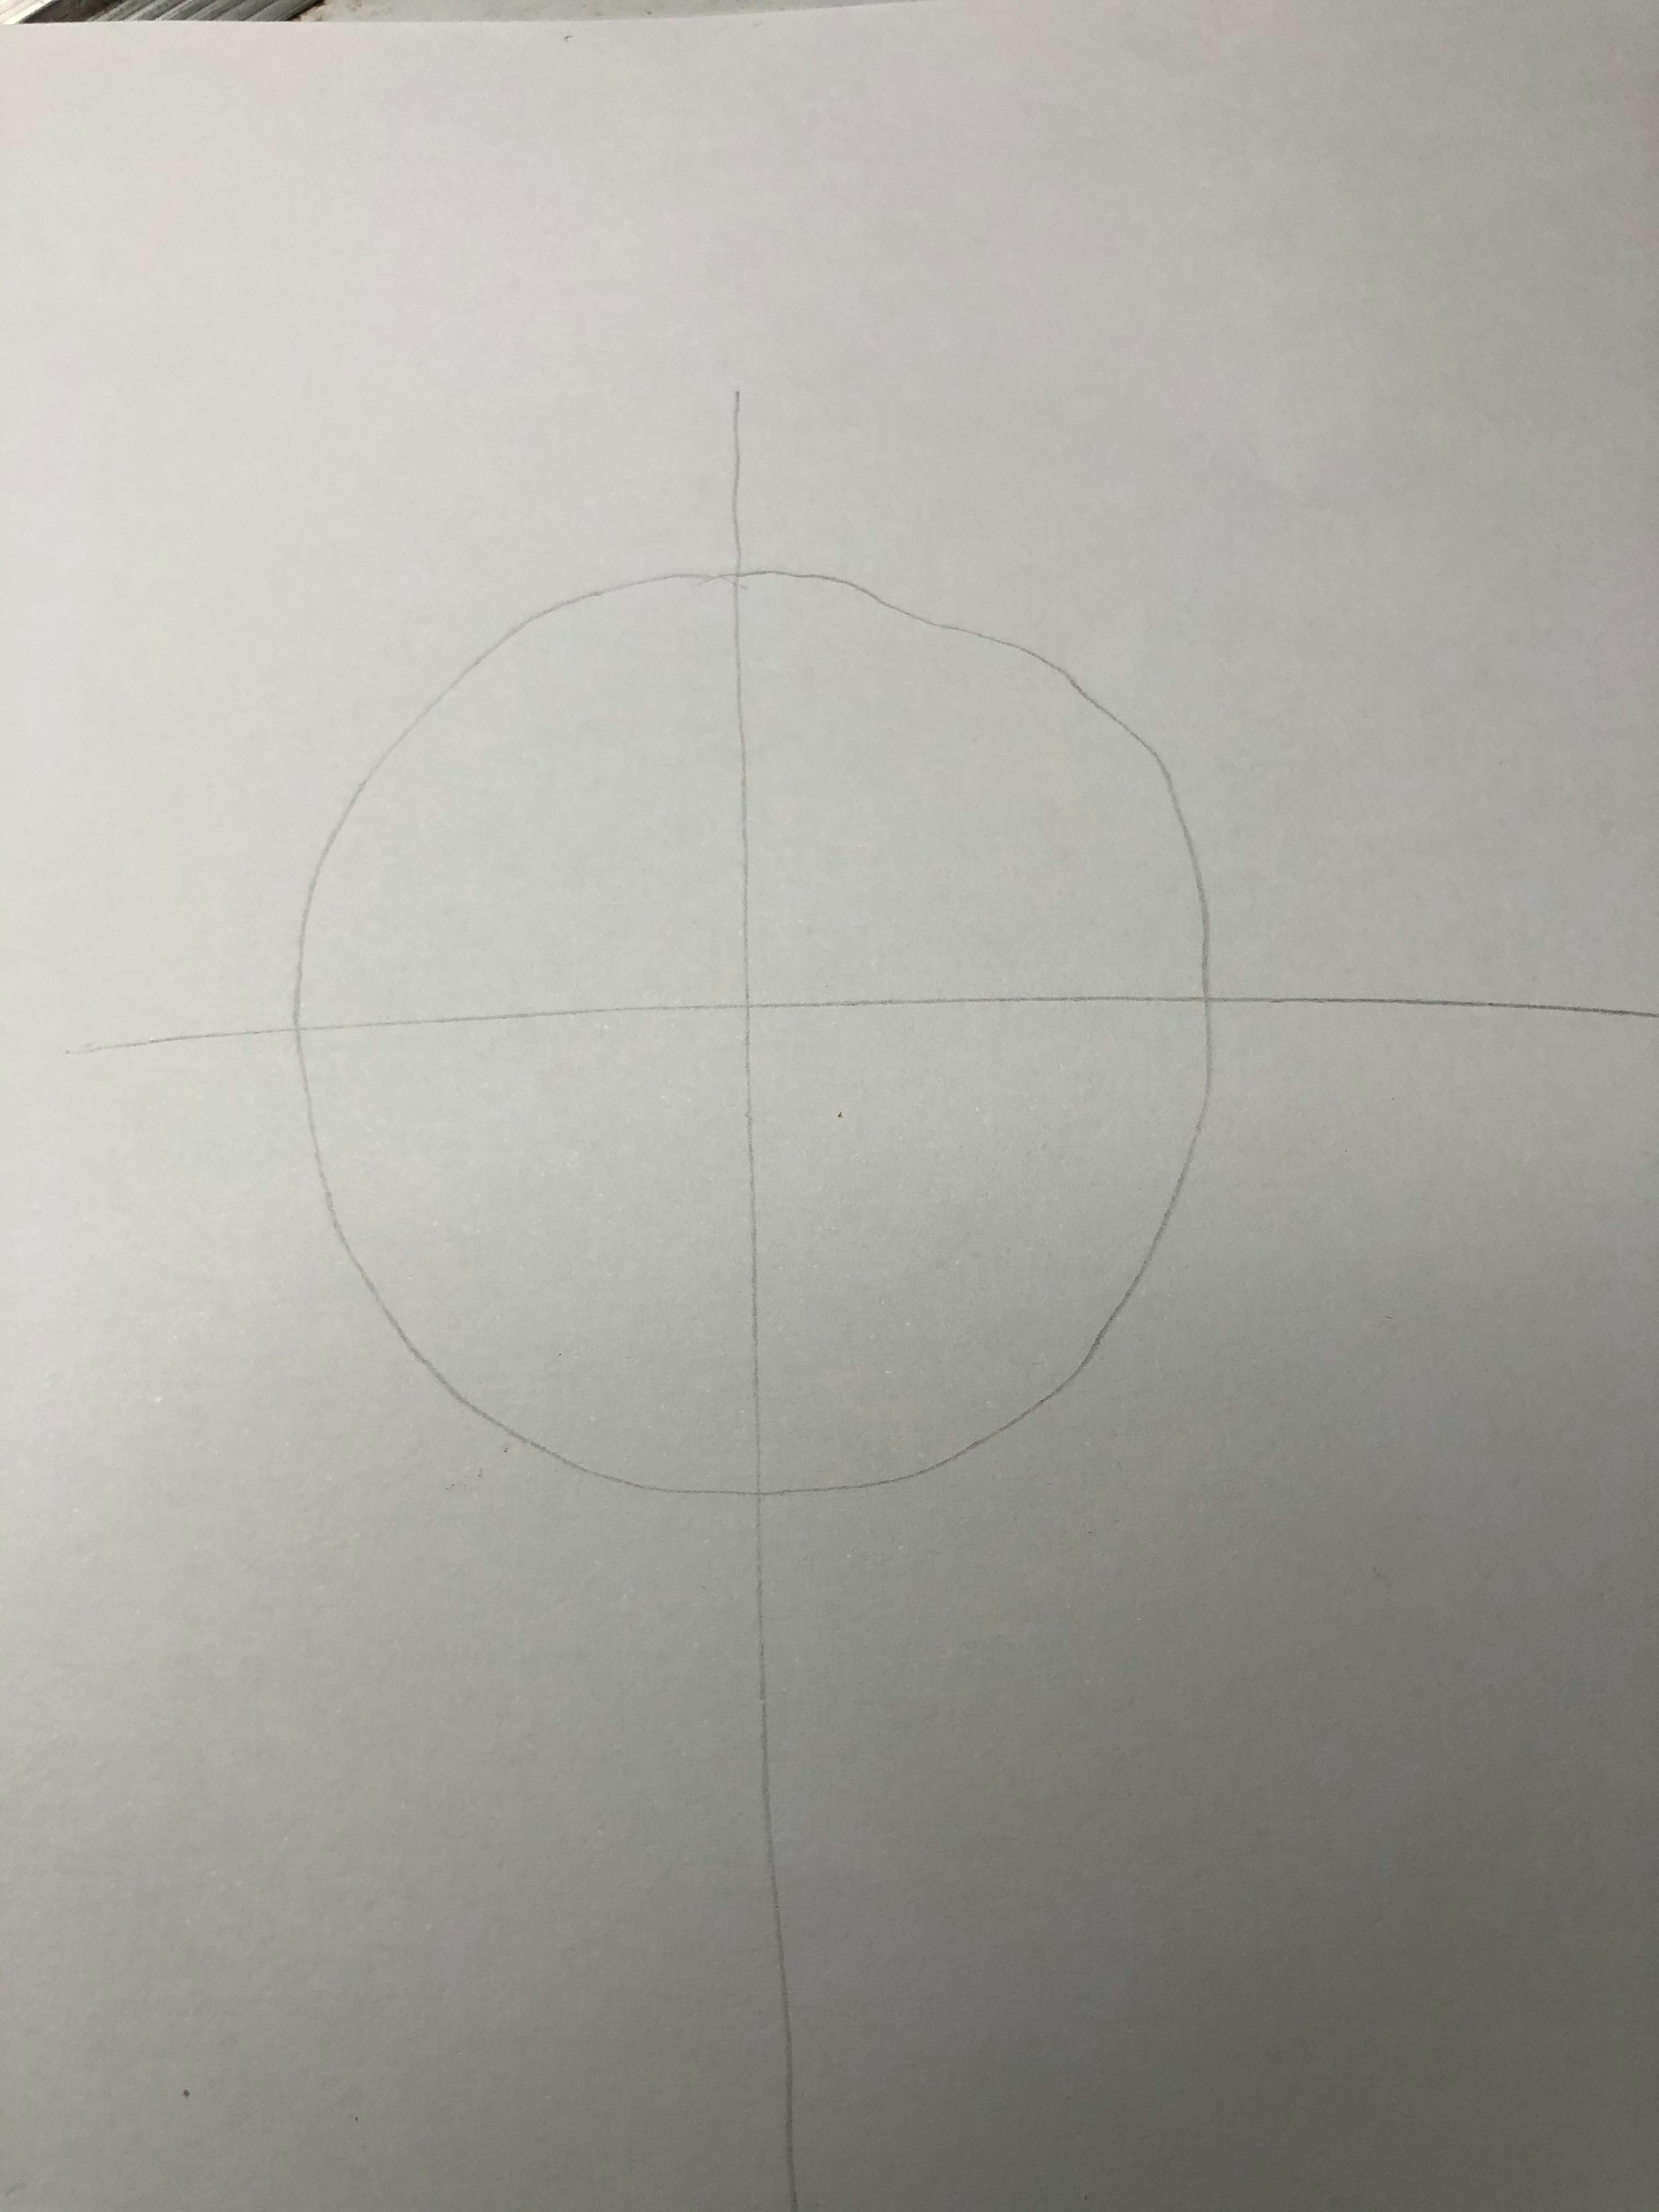
That done, we draw another line perpendicular to the line we just drew. This line would divide the former line into two and the circle into four, roughly equal, quarters.
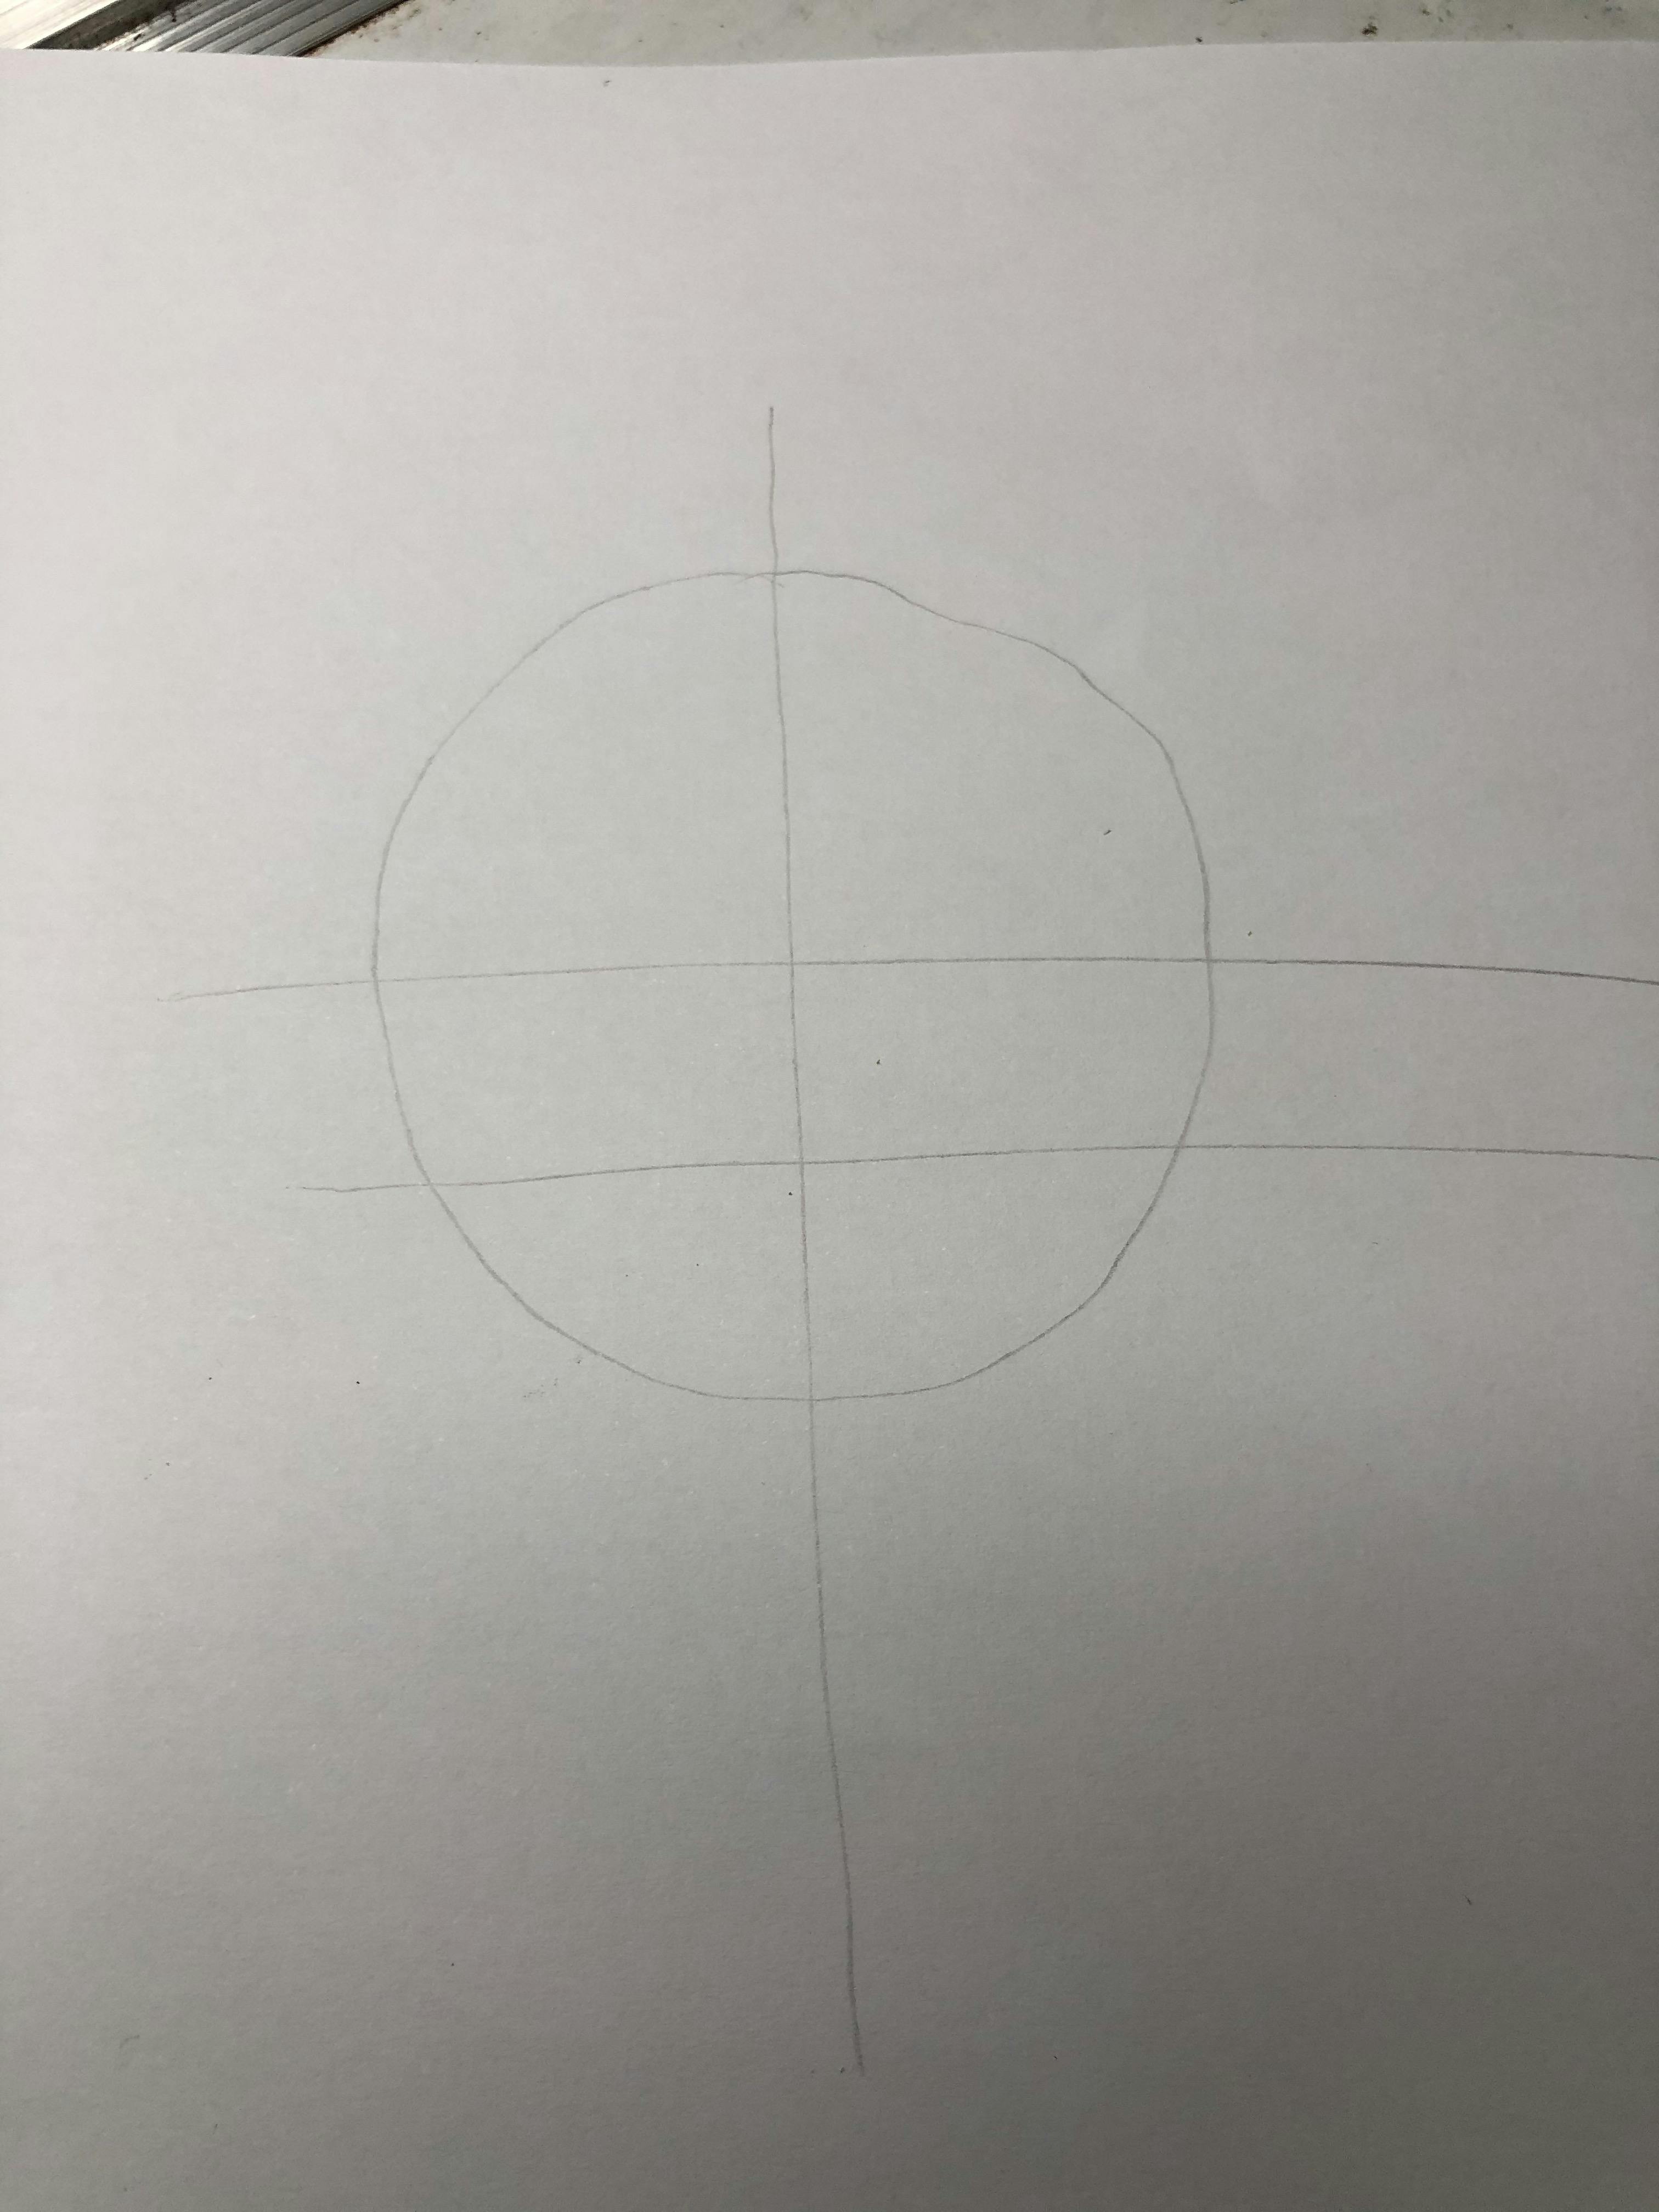
With that out of the way, we go to the lower half of the circle and, using another perpendicular line to the original line, divide the lower half of the circle into two. This line should also divide the lower half of the first line into two equal parts.
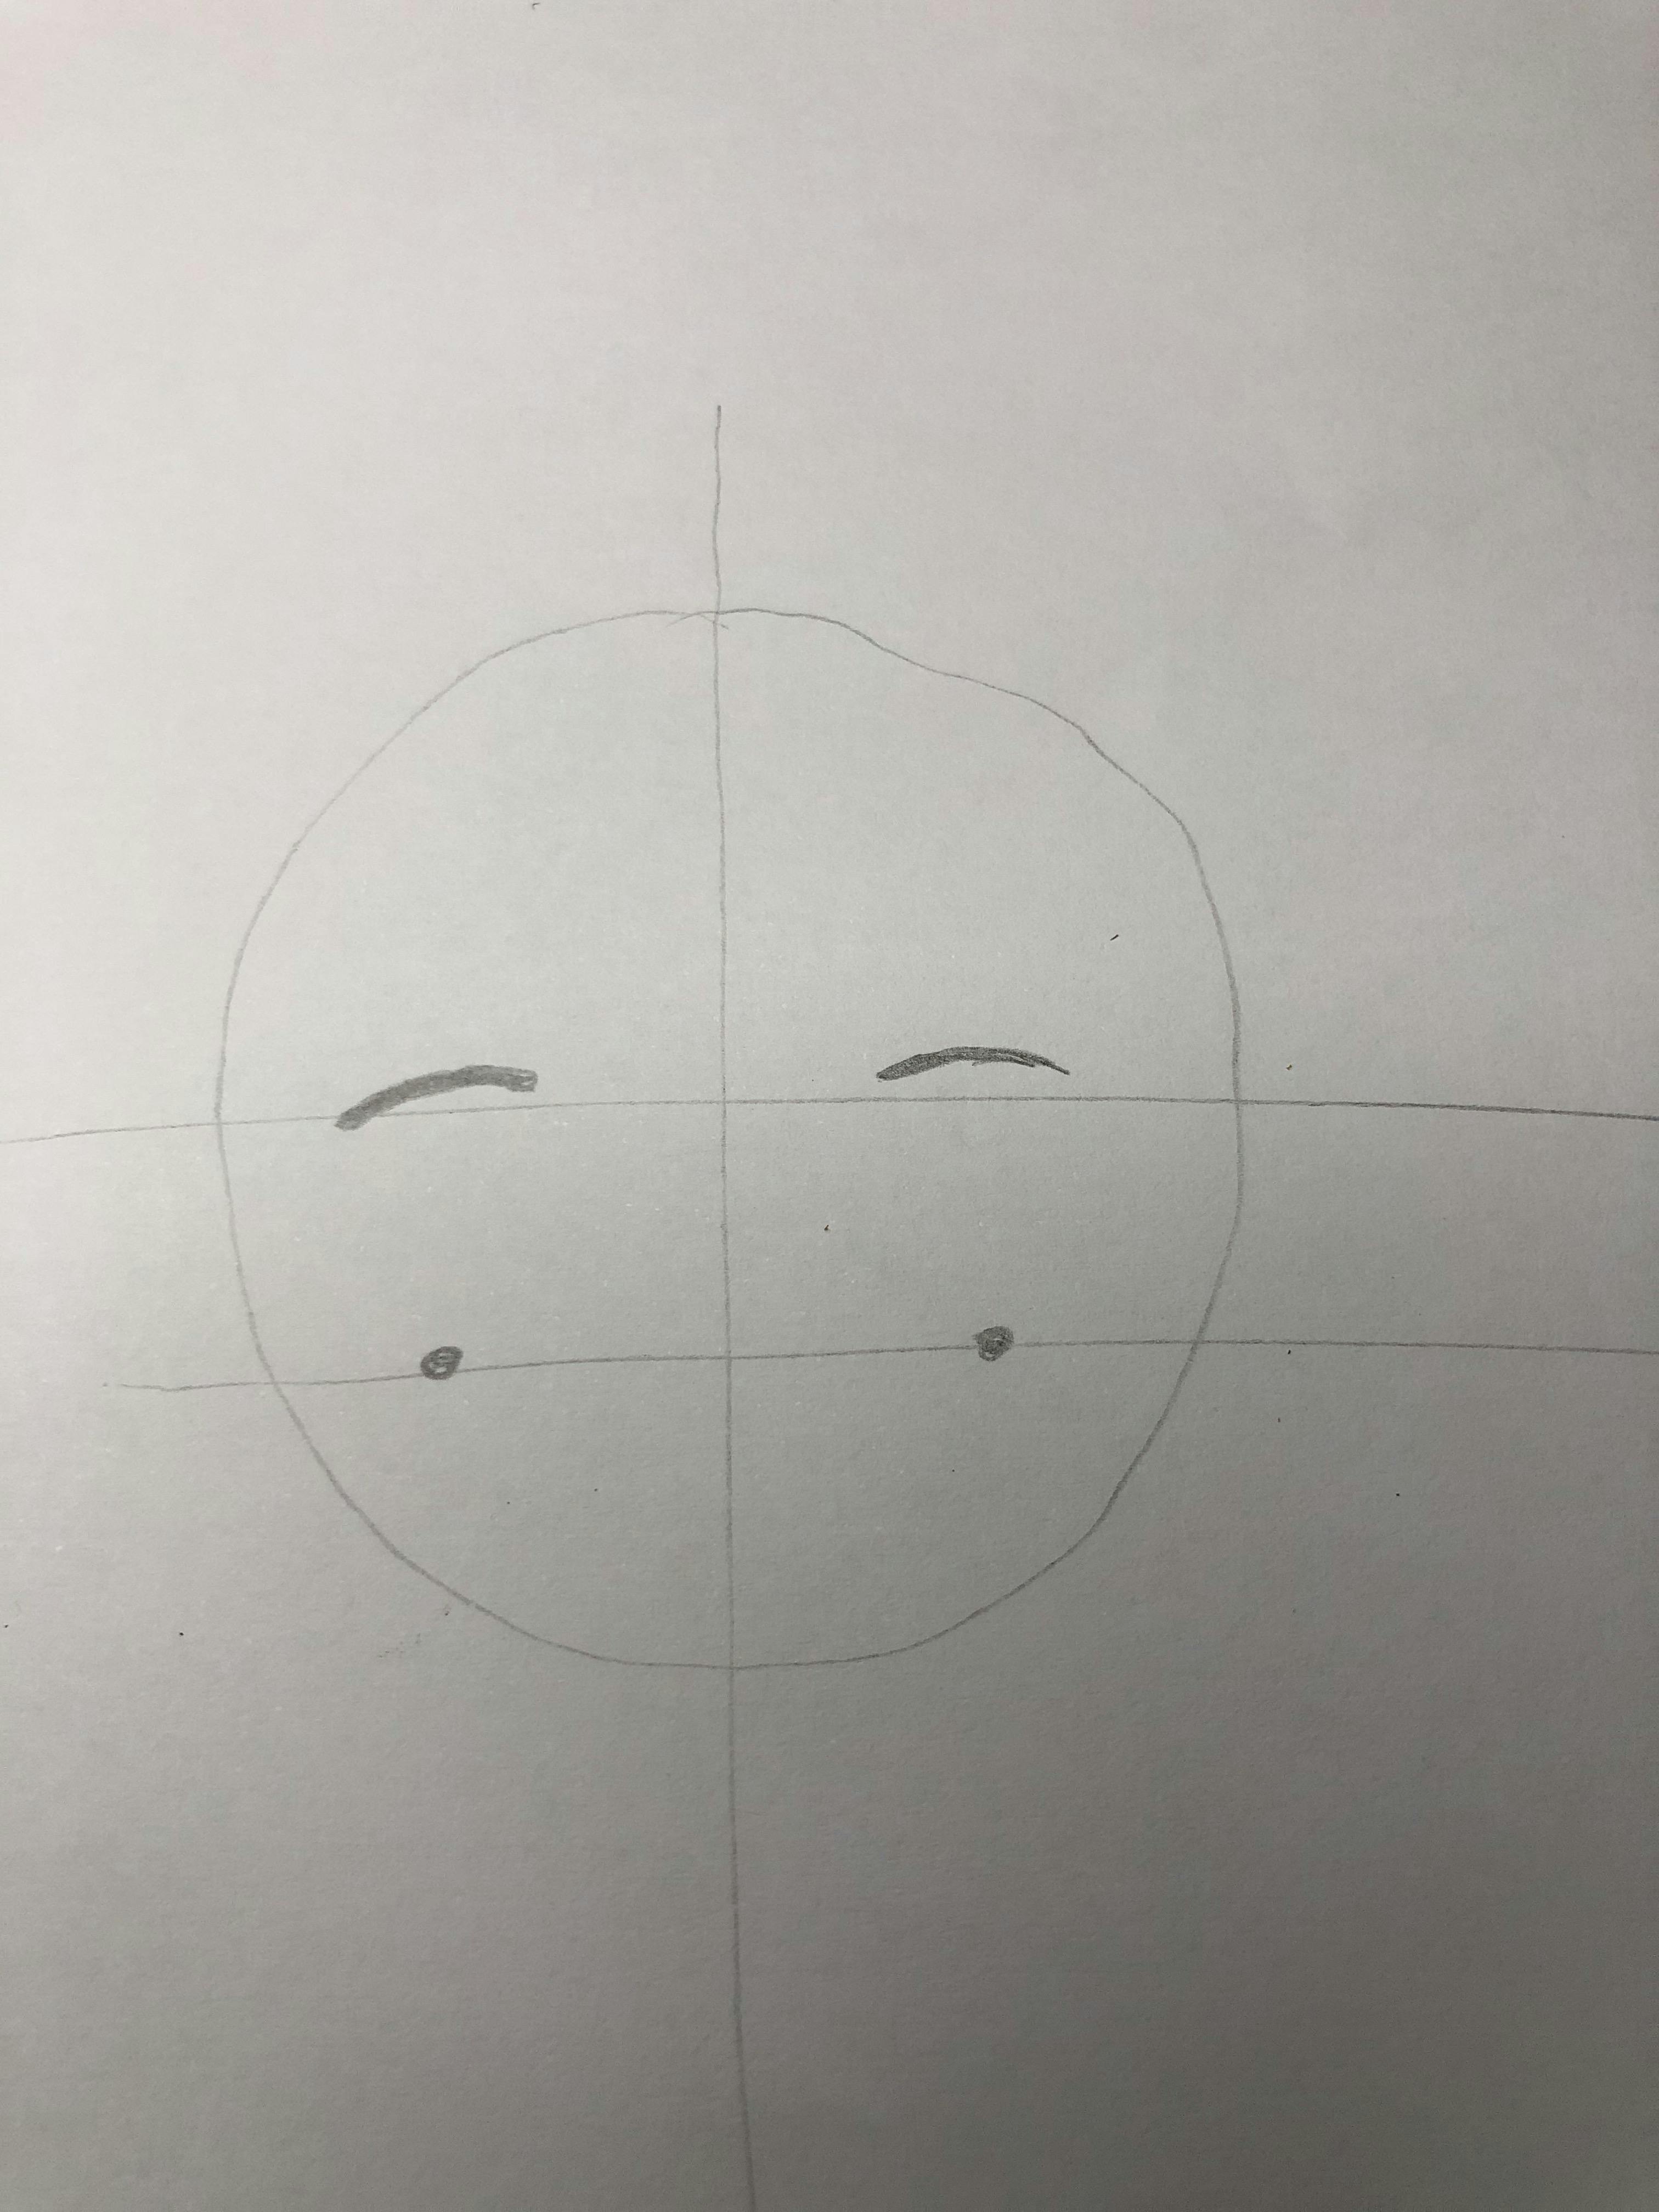
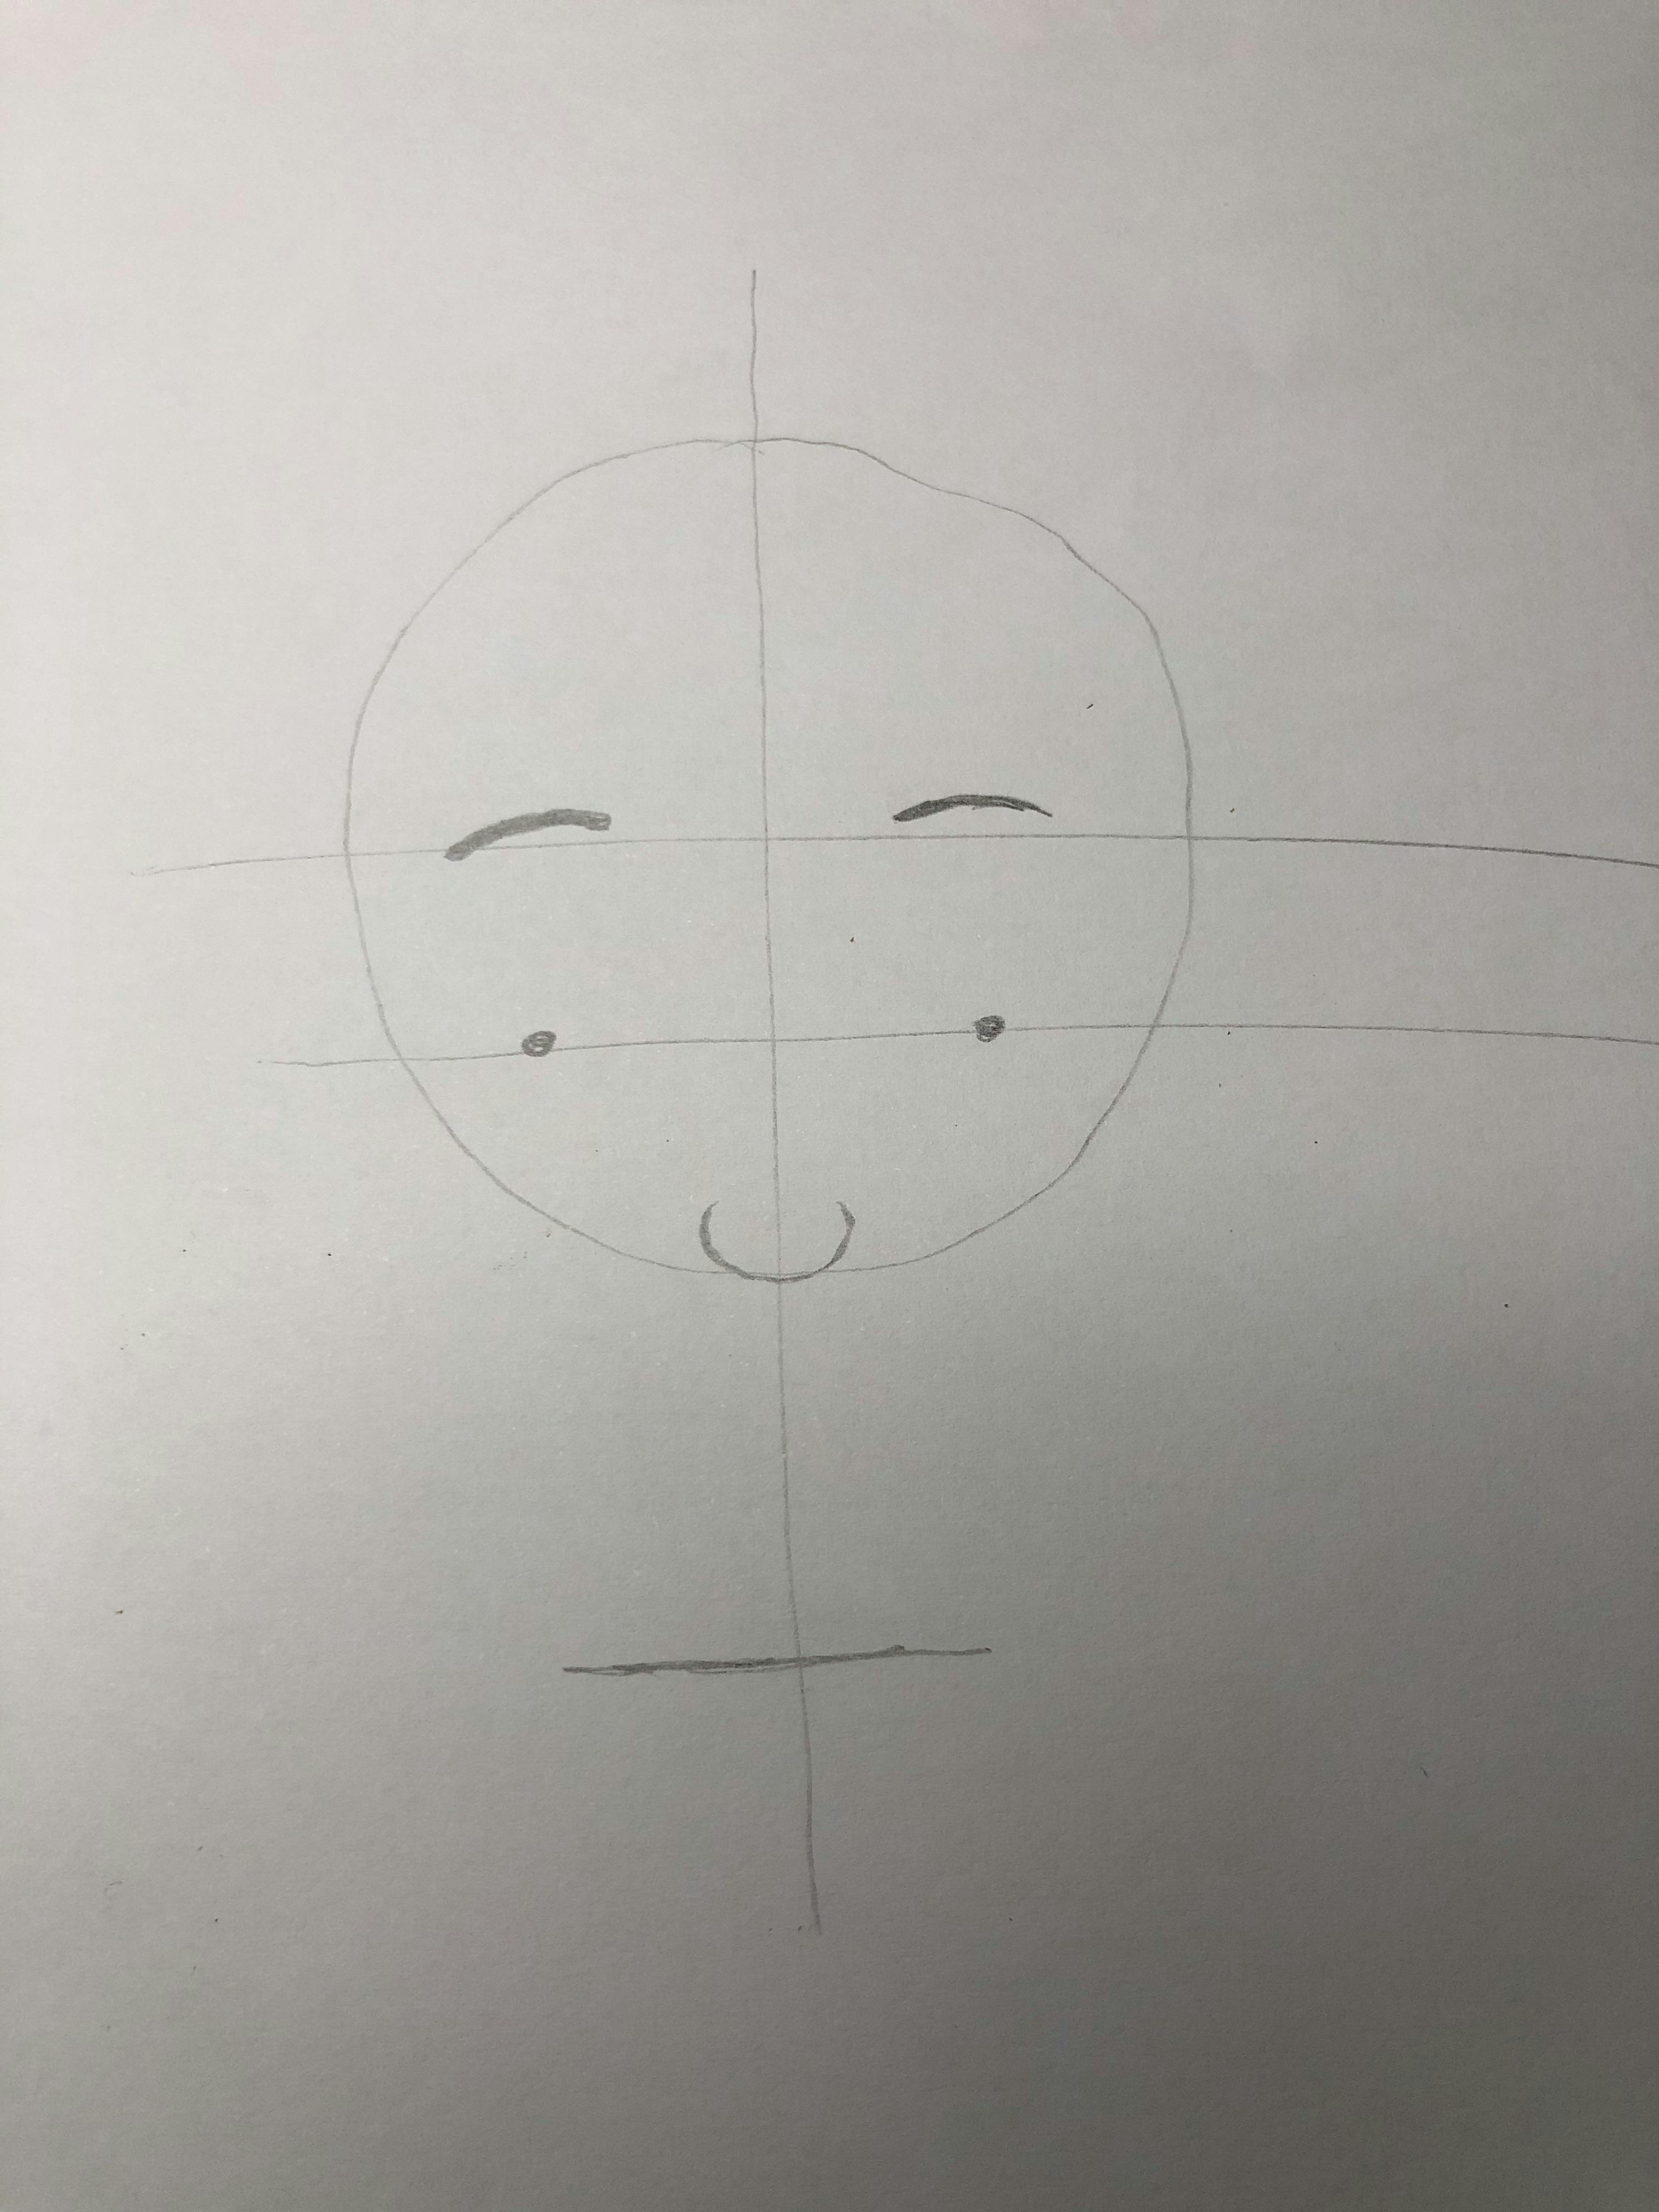
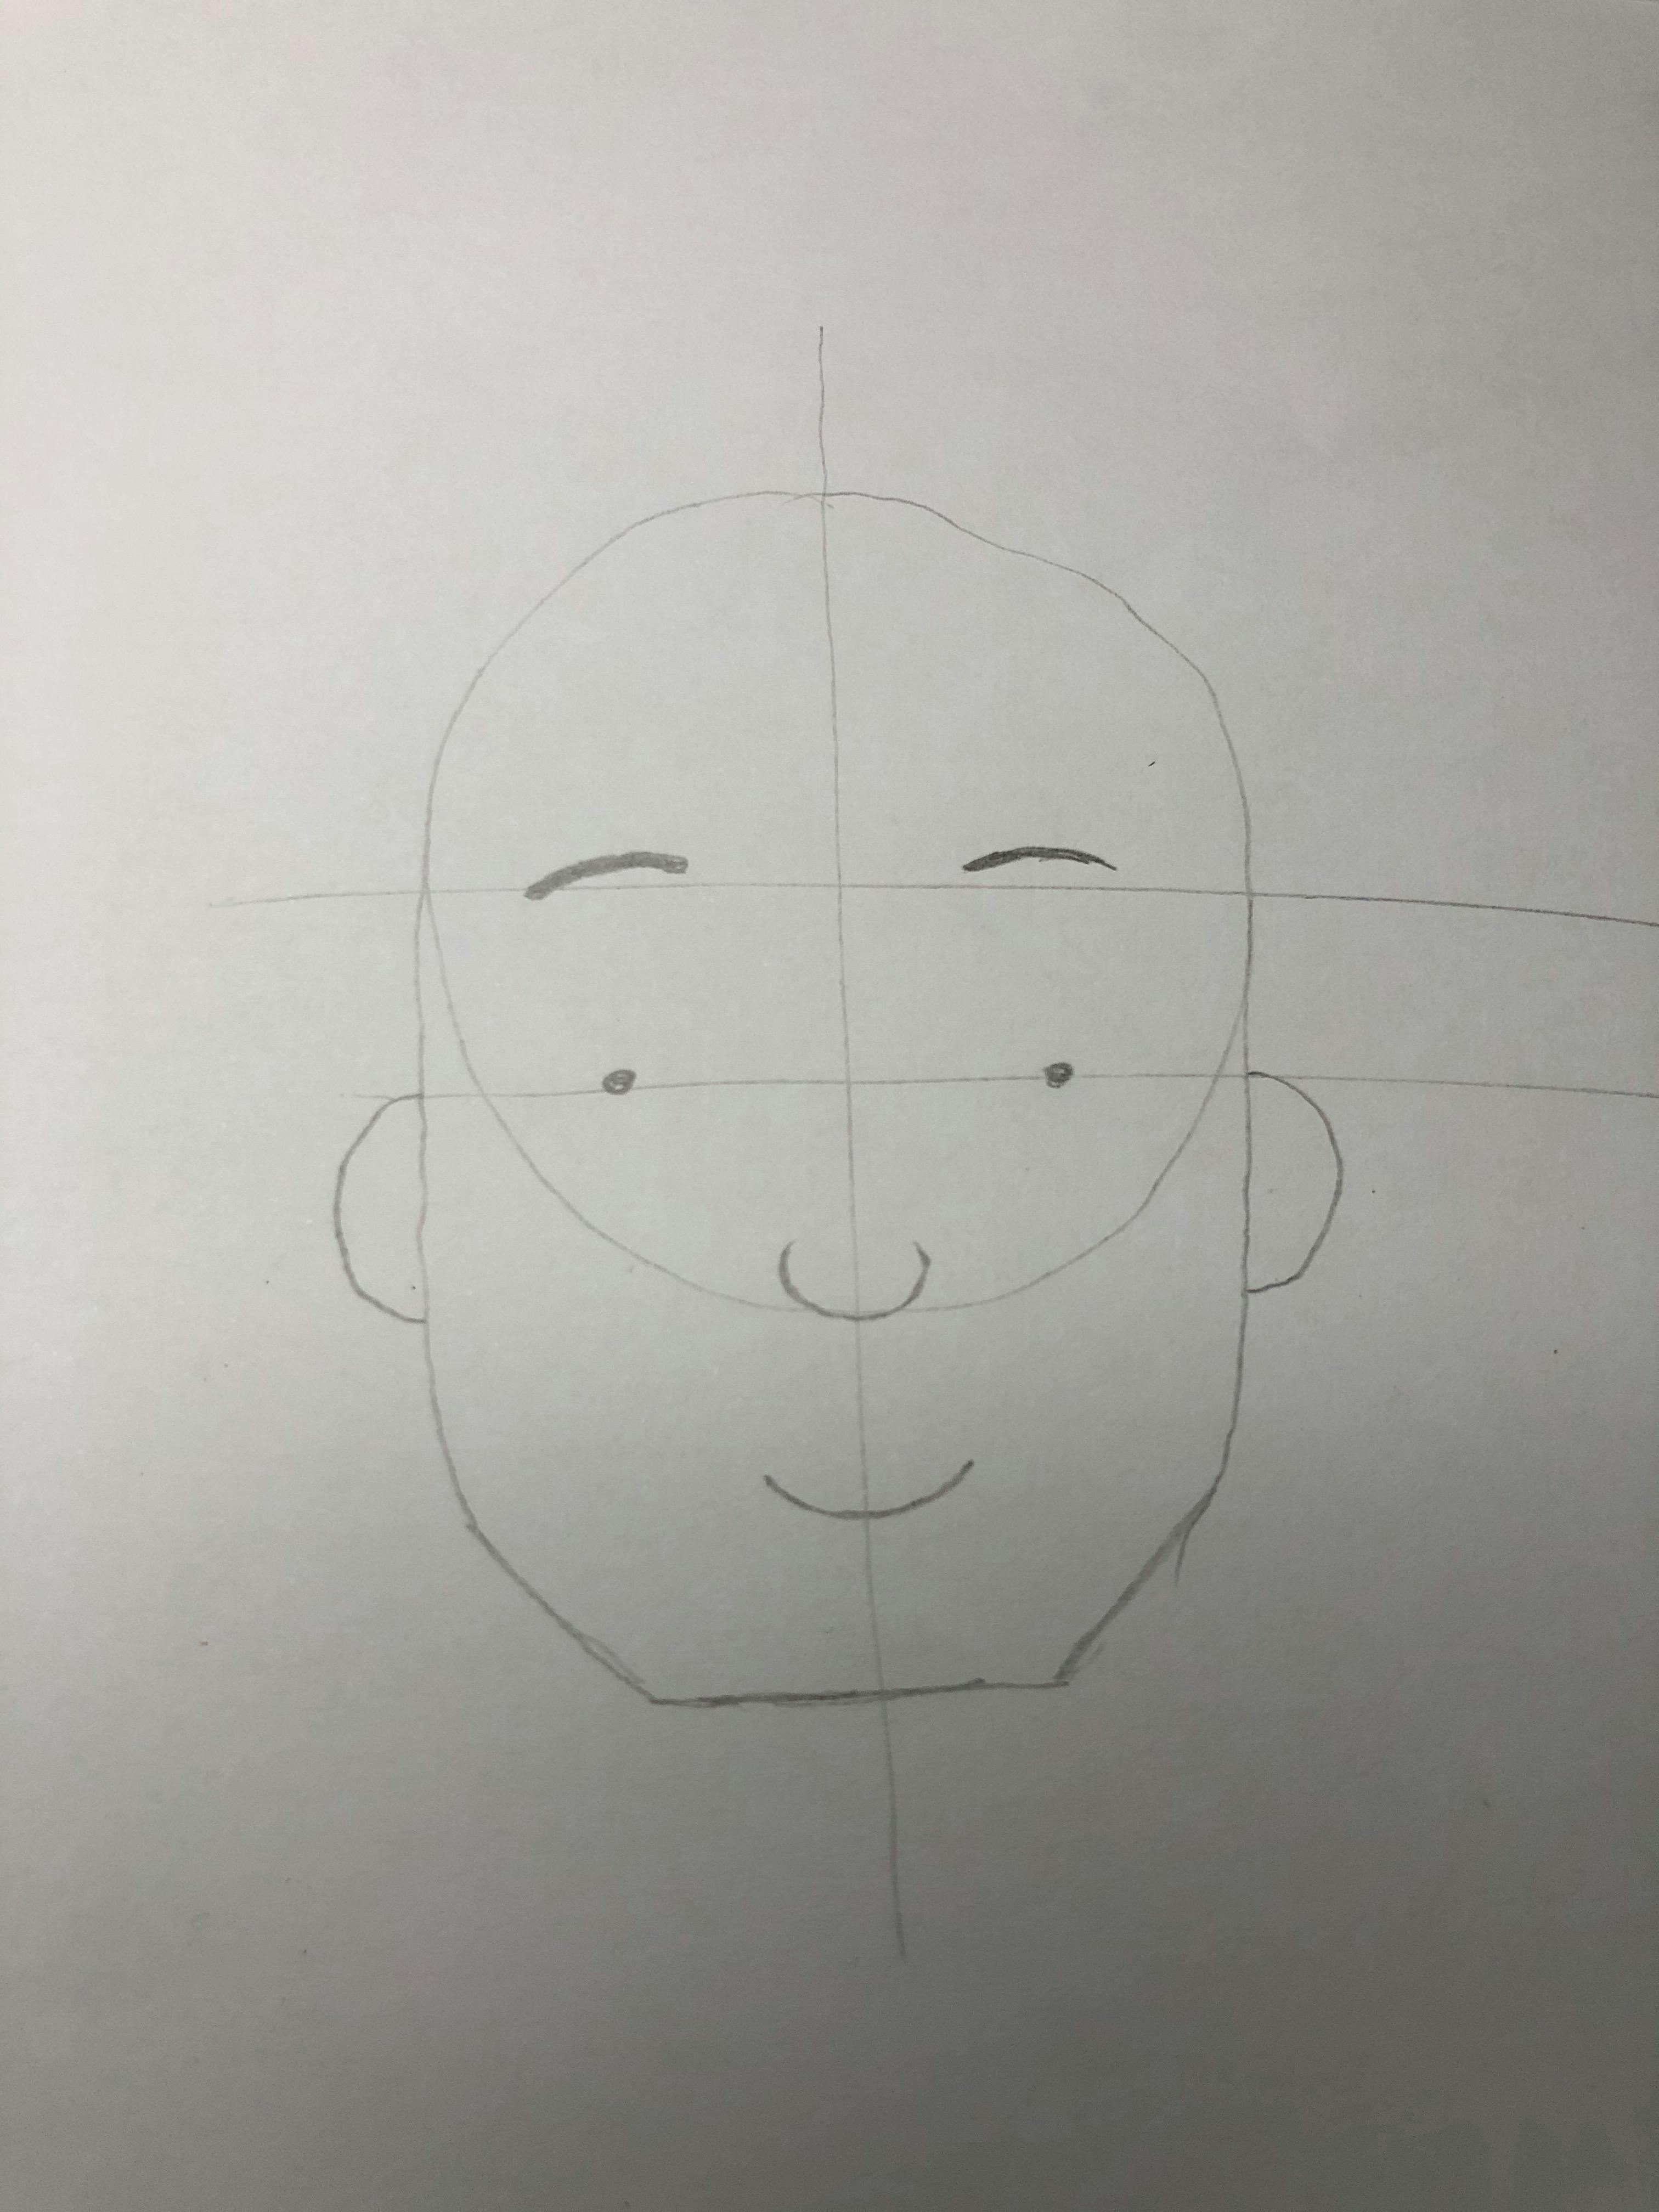
Now we can start filling our face in. On the first horizontal line, find a spot that's roughly at the middle of the left side and draw an eyebrow there. Doesn't have to be anything fancy. A thick line, slightly curved upwards should do. Do the same on the right.
On the second horizontal line, find a spot that's roughly at the middle of the eft of the line and make a thick dot there. Do the same on the right. At this point, you have your eyebrows and eyes. They look really simple and would work for this tutorial but might not work when trying to sketch other facial expressions. I would cover different ways and styles of drawing the brows and eyes for different features and facial expressions in a different post.
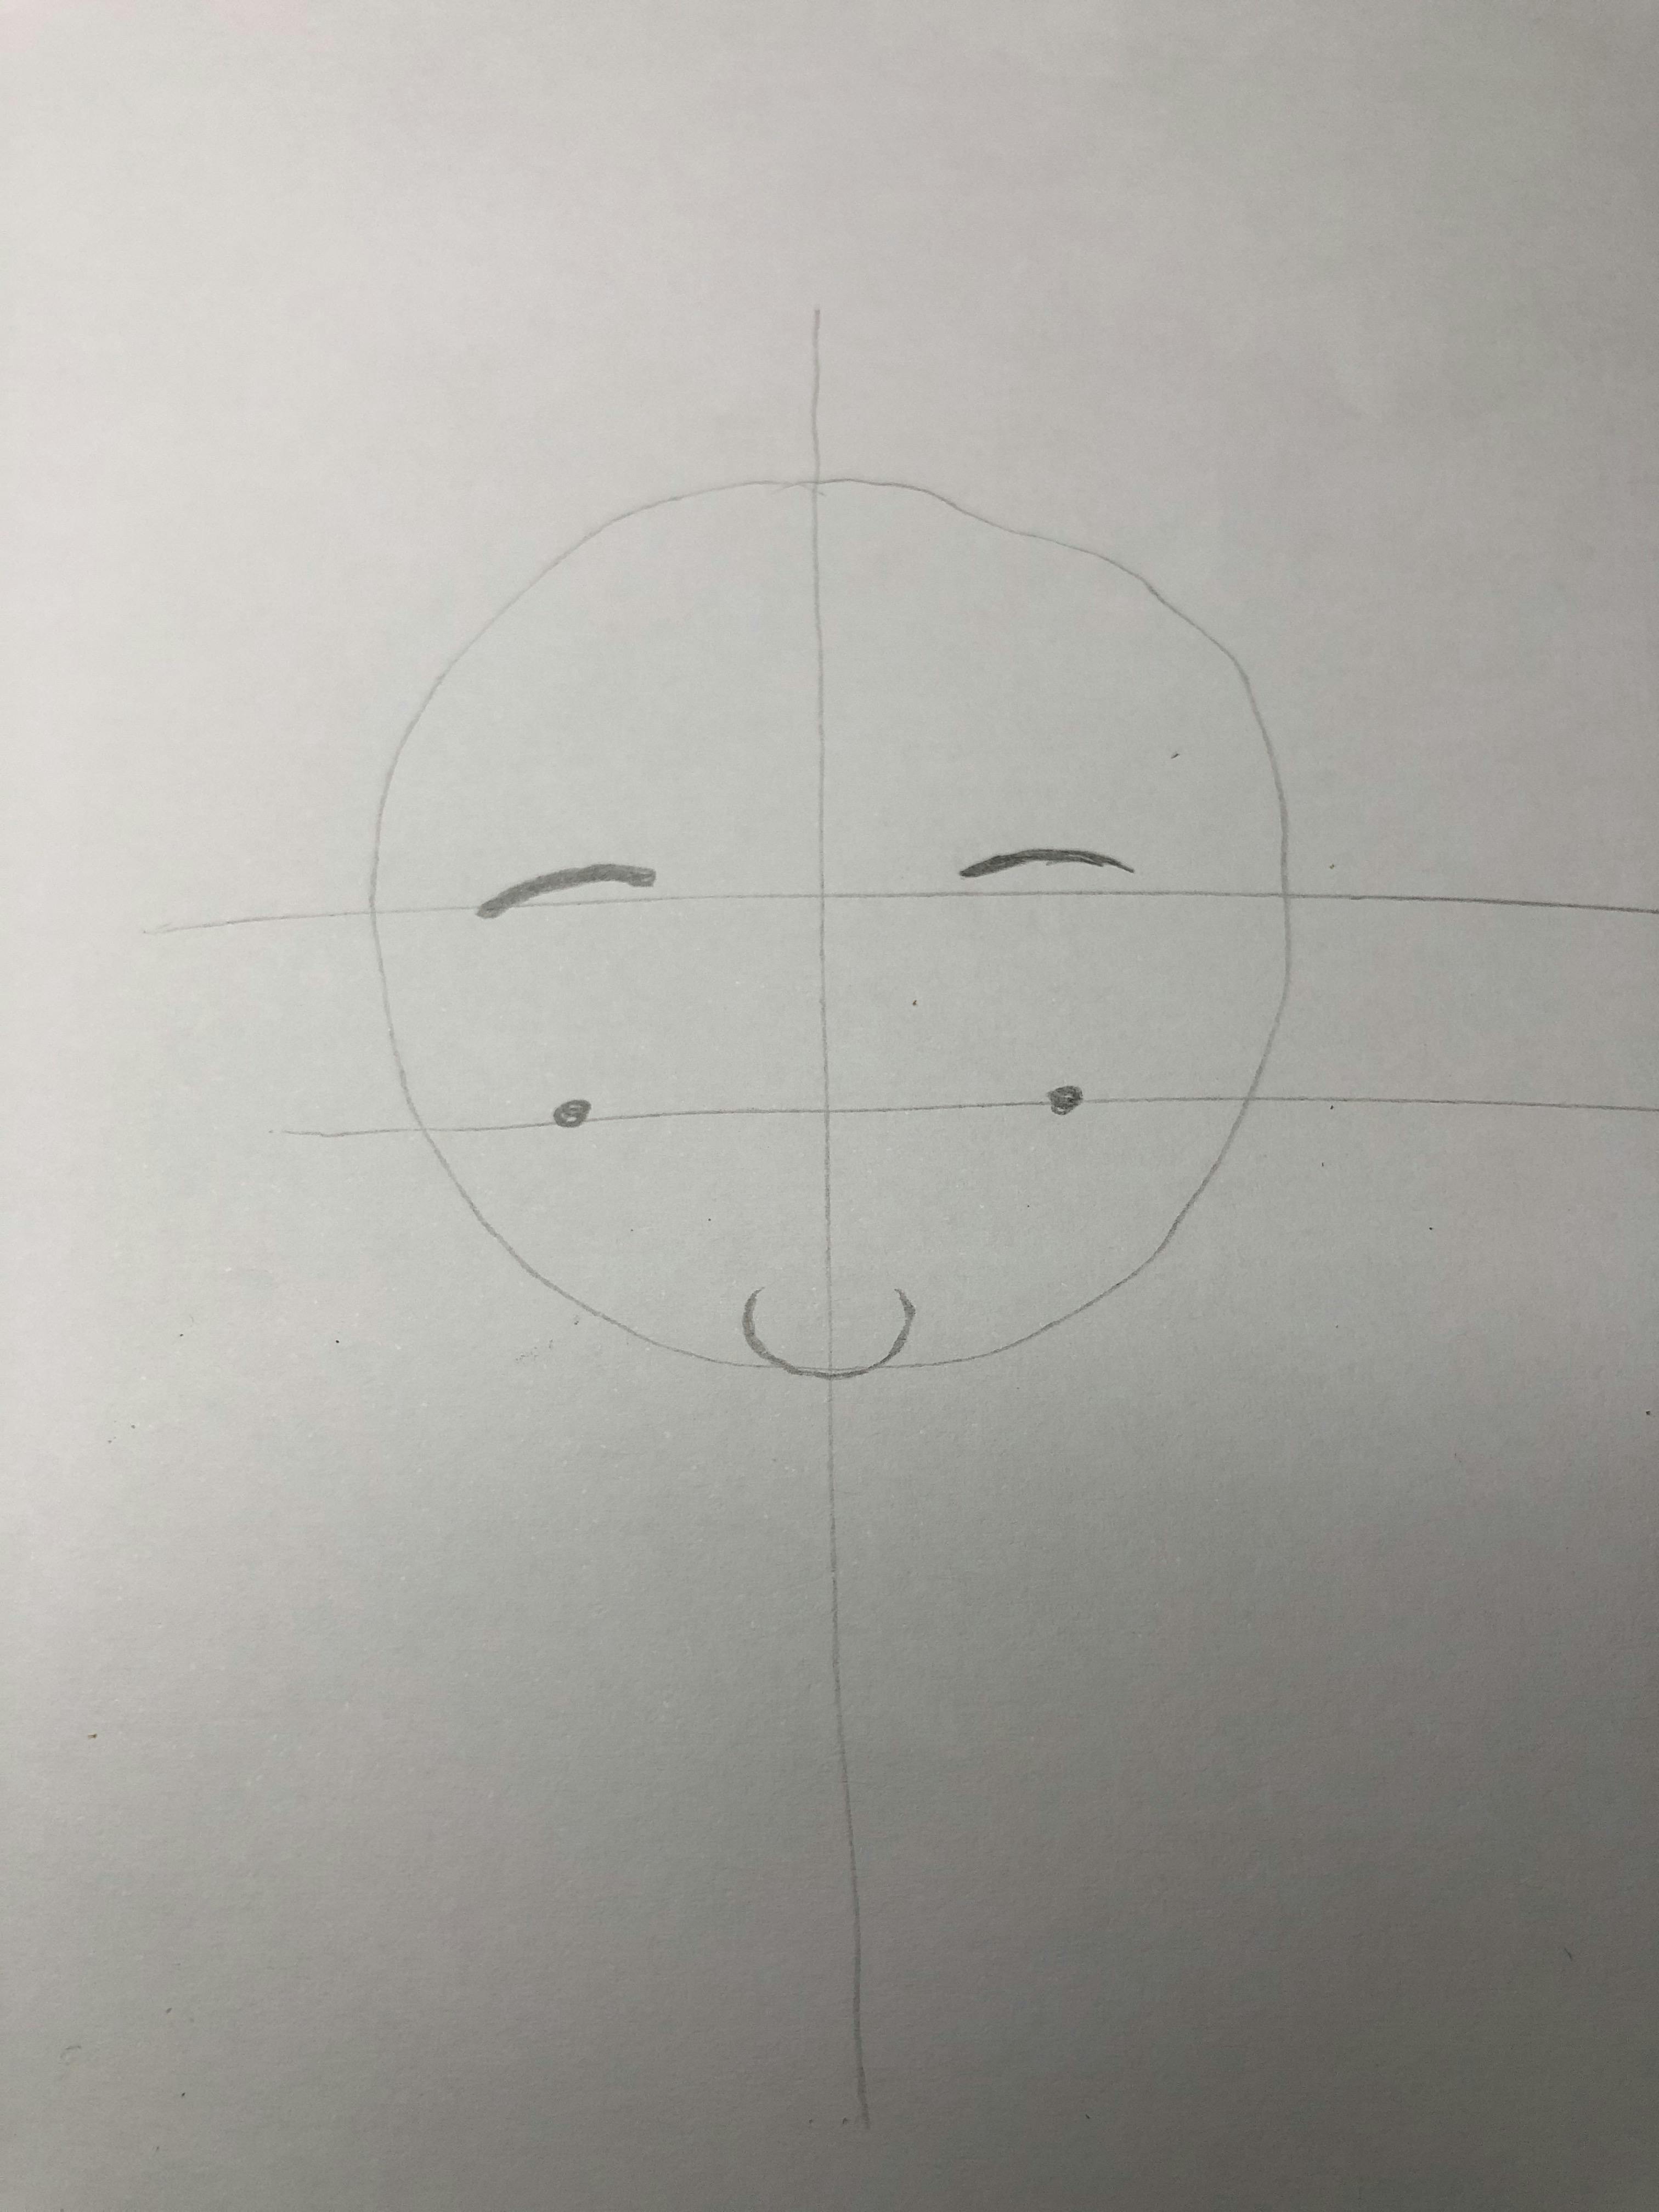
Now that the eyes and brows are set, let's move on to the nose. At the lower end of the circle, where the vertical line touches the base of the circle, draw the lower half of a circle. Make sure it's not too big or small. Extend the ends a bit so it looks like you want to complete the circle but nor really. That's the nose!
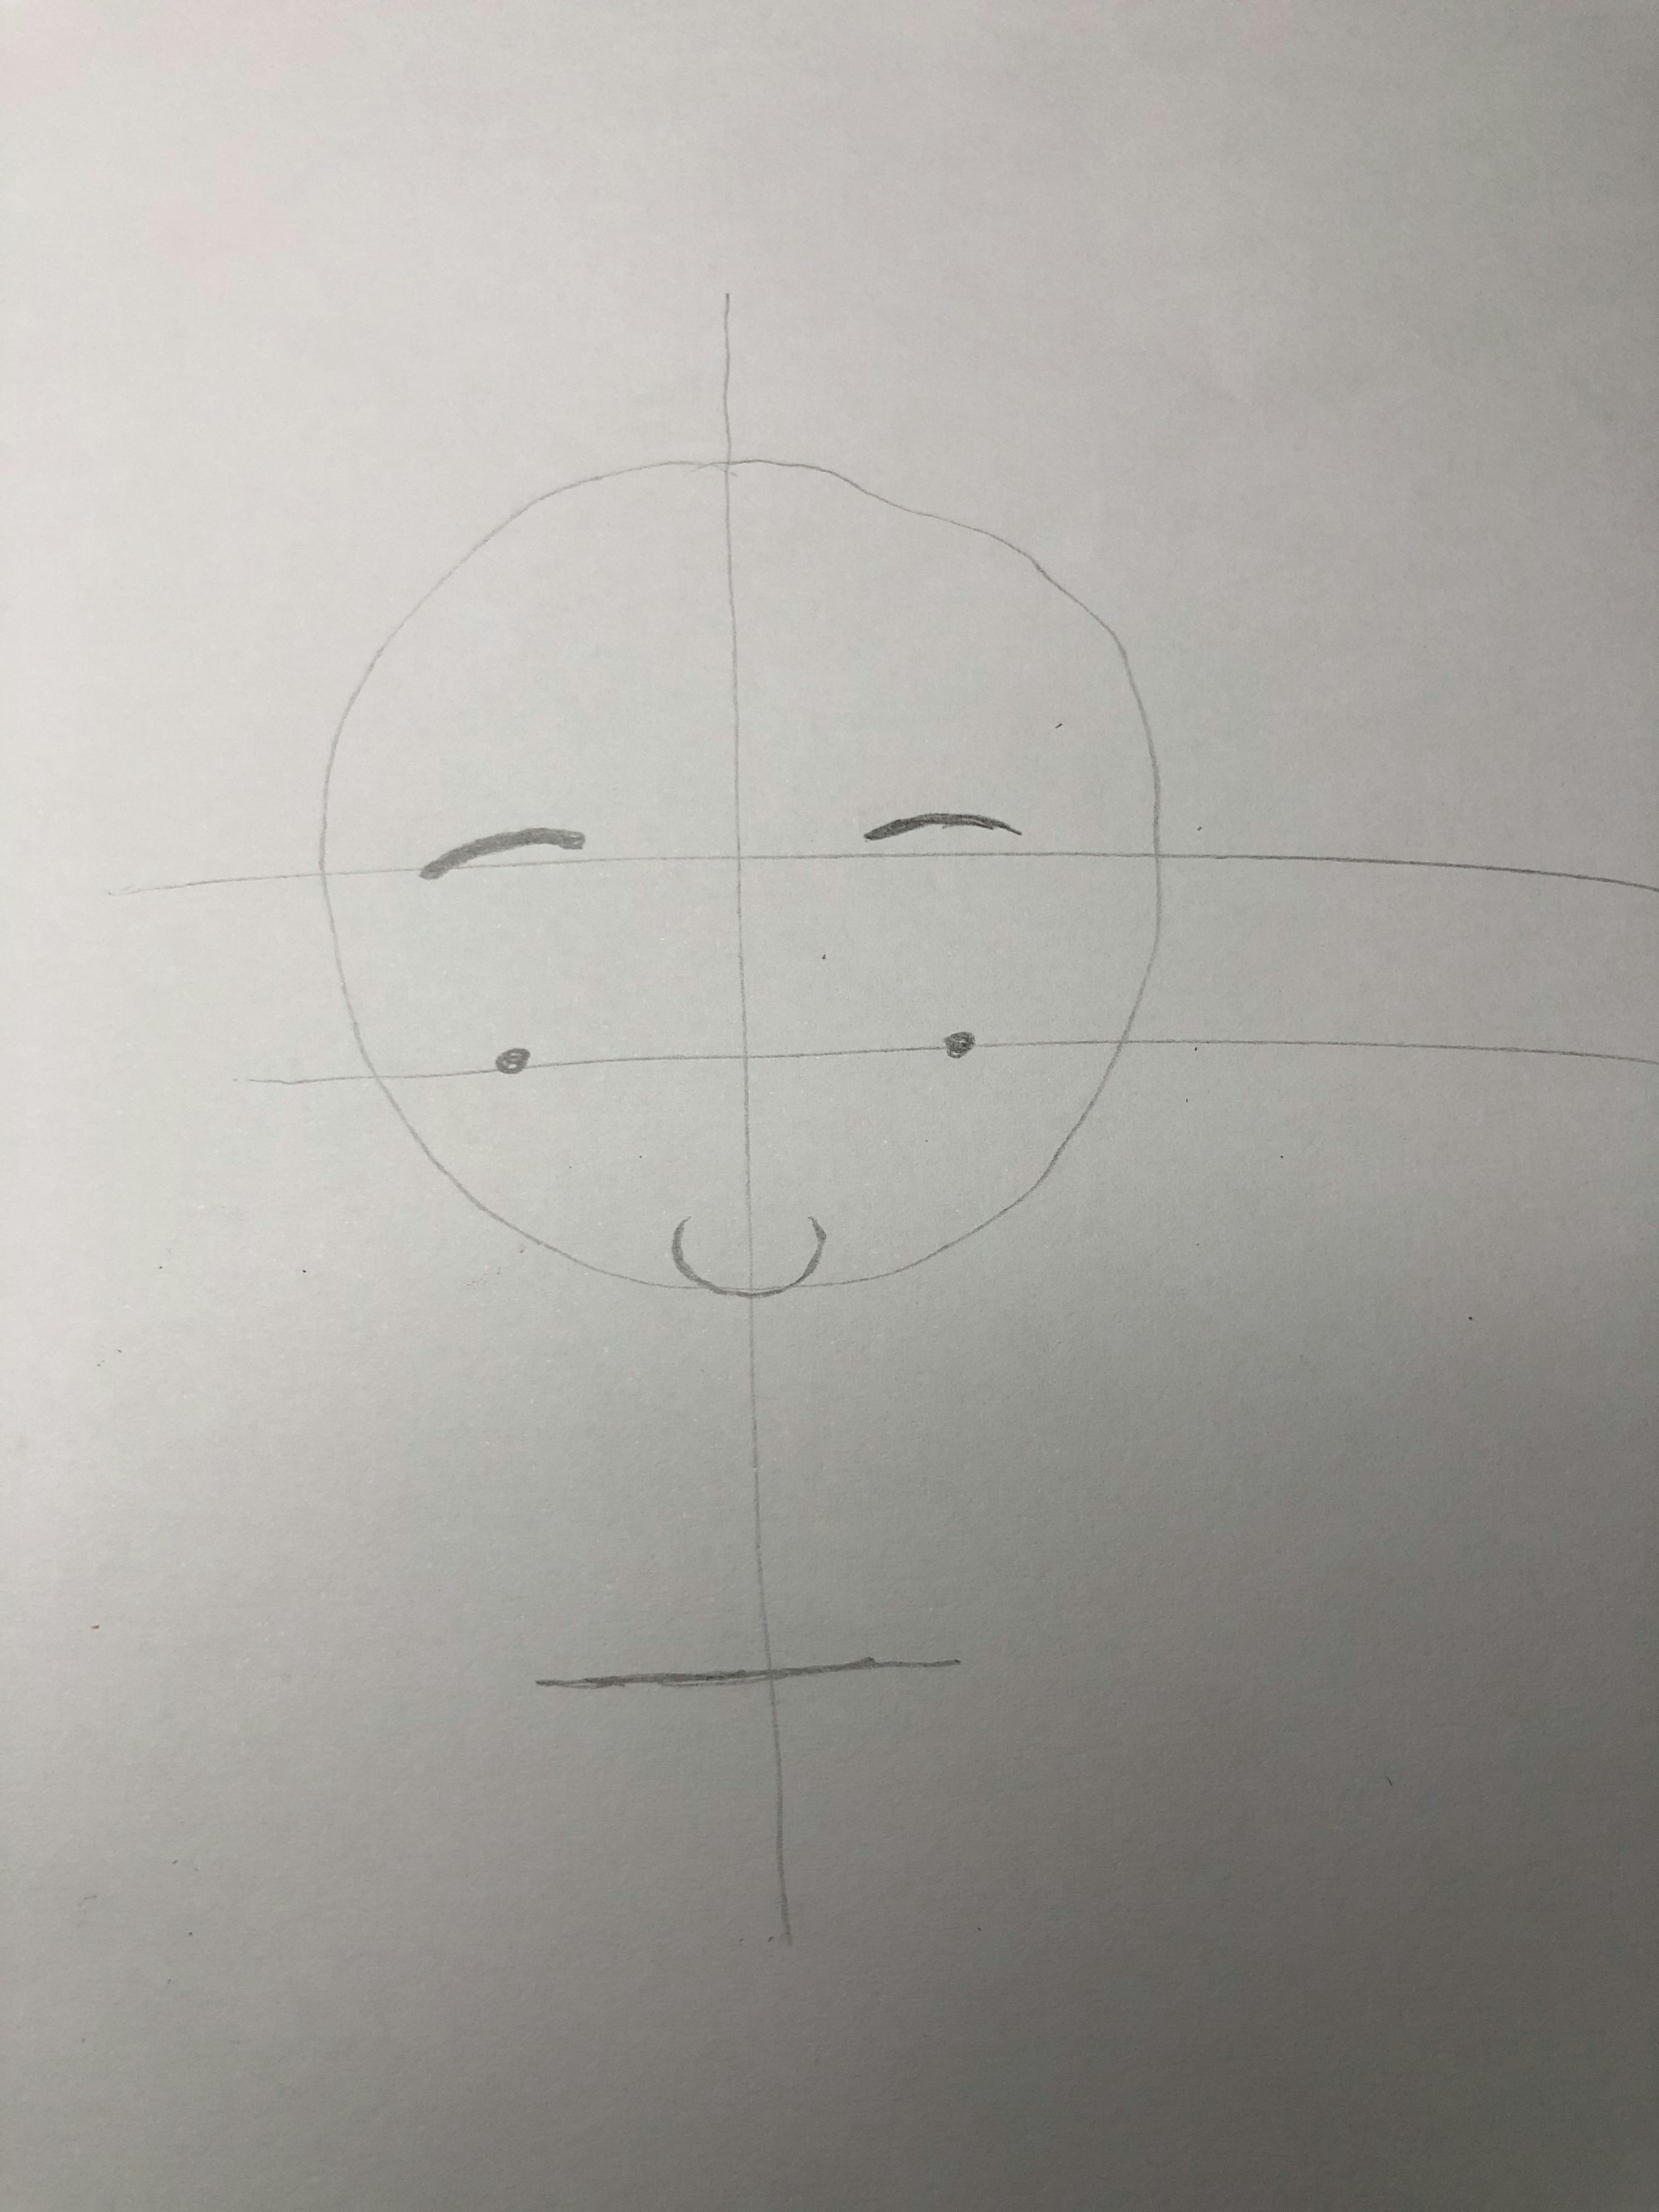
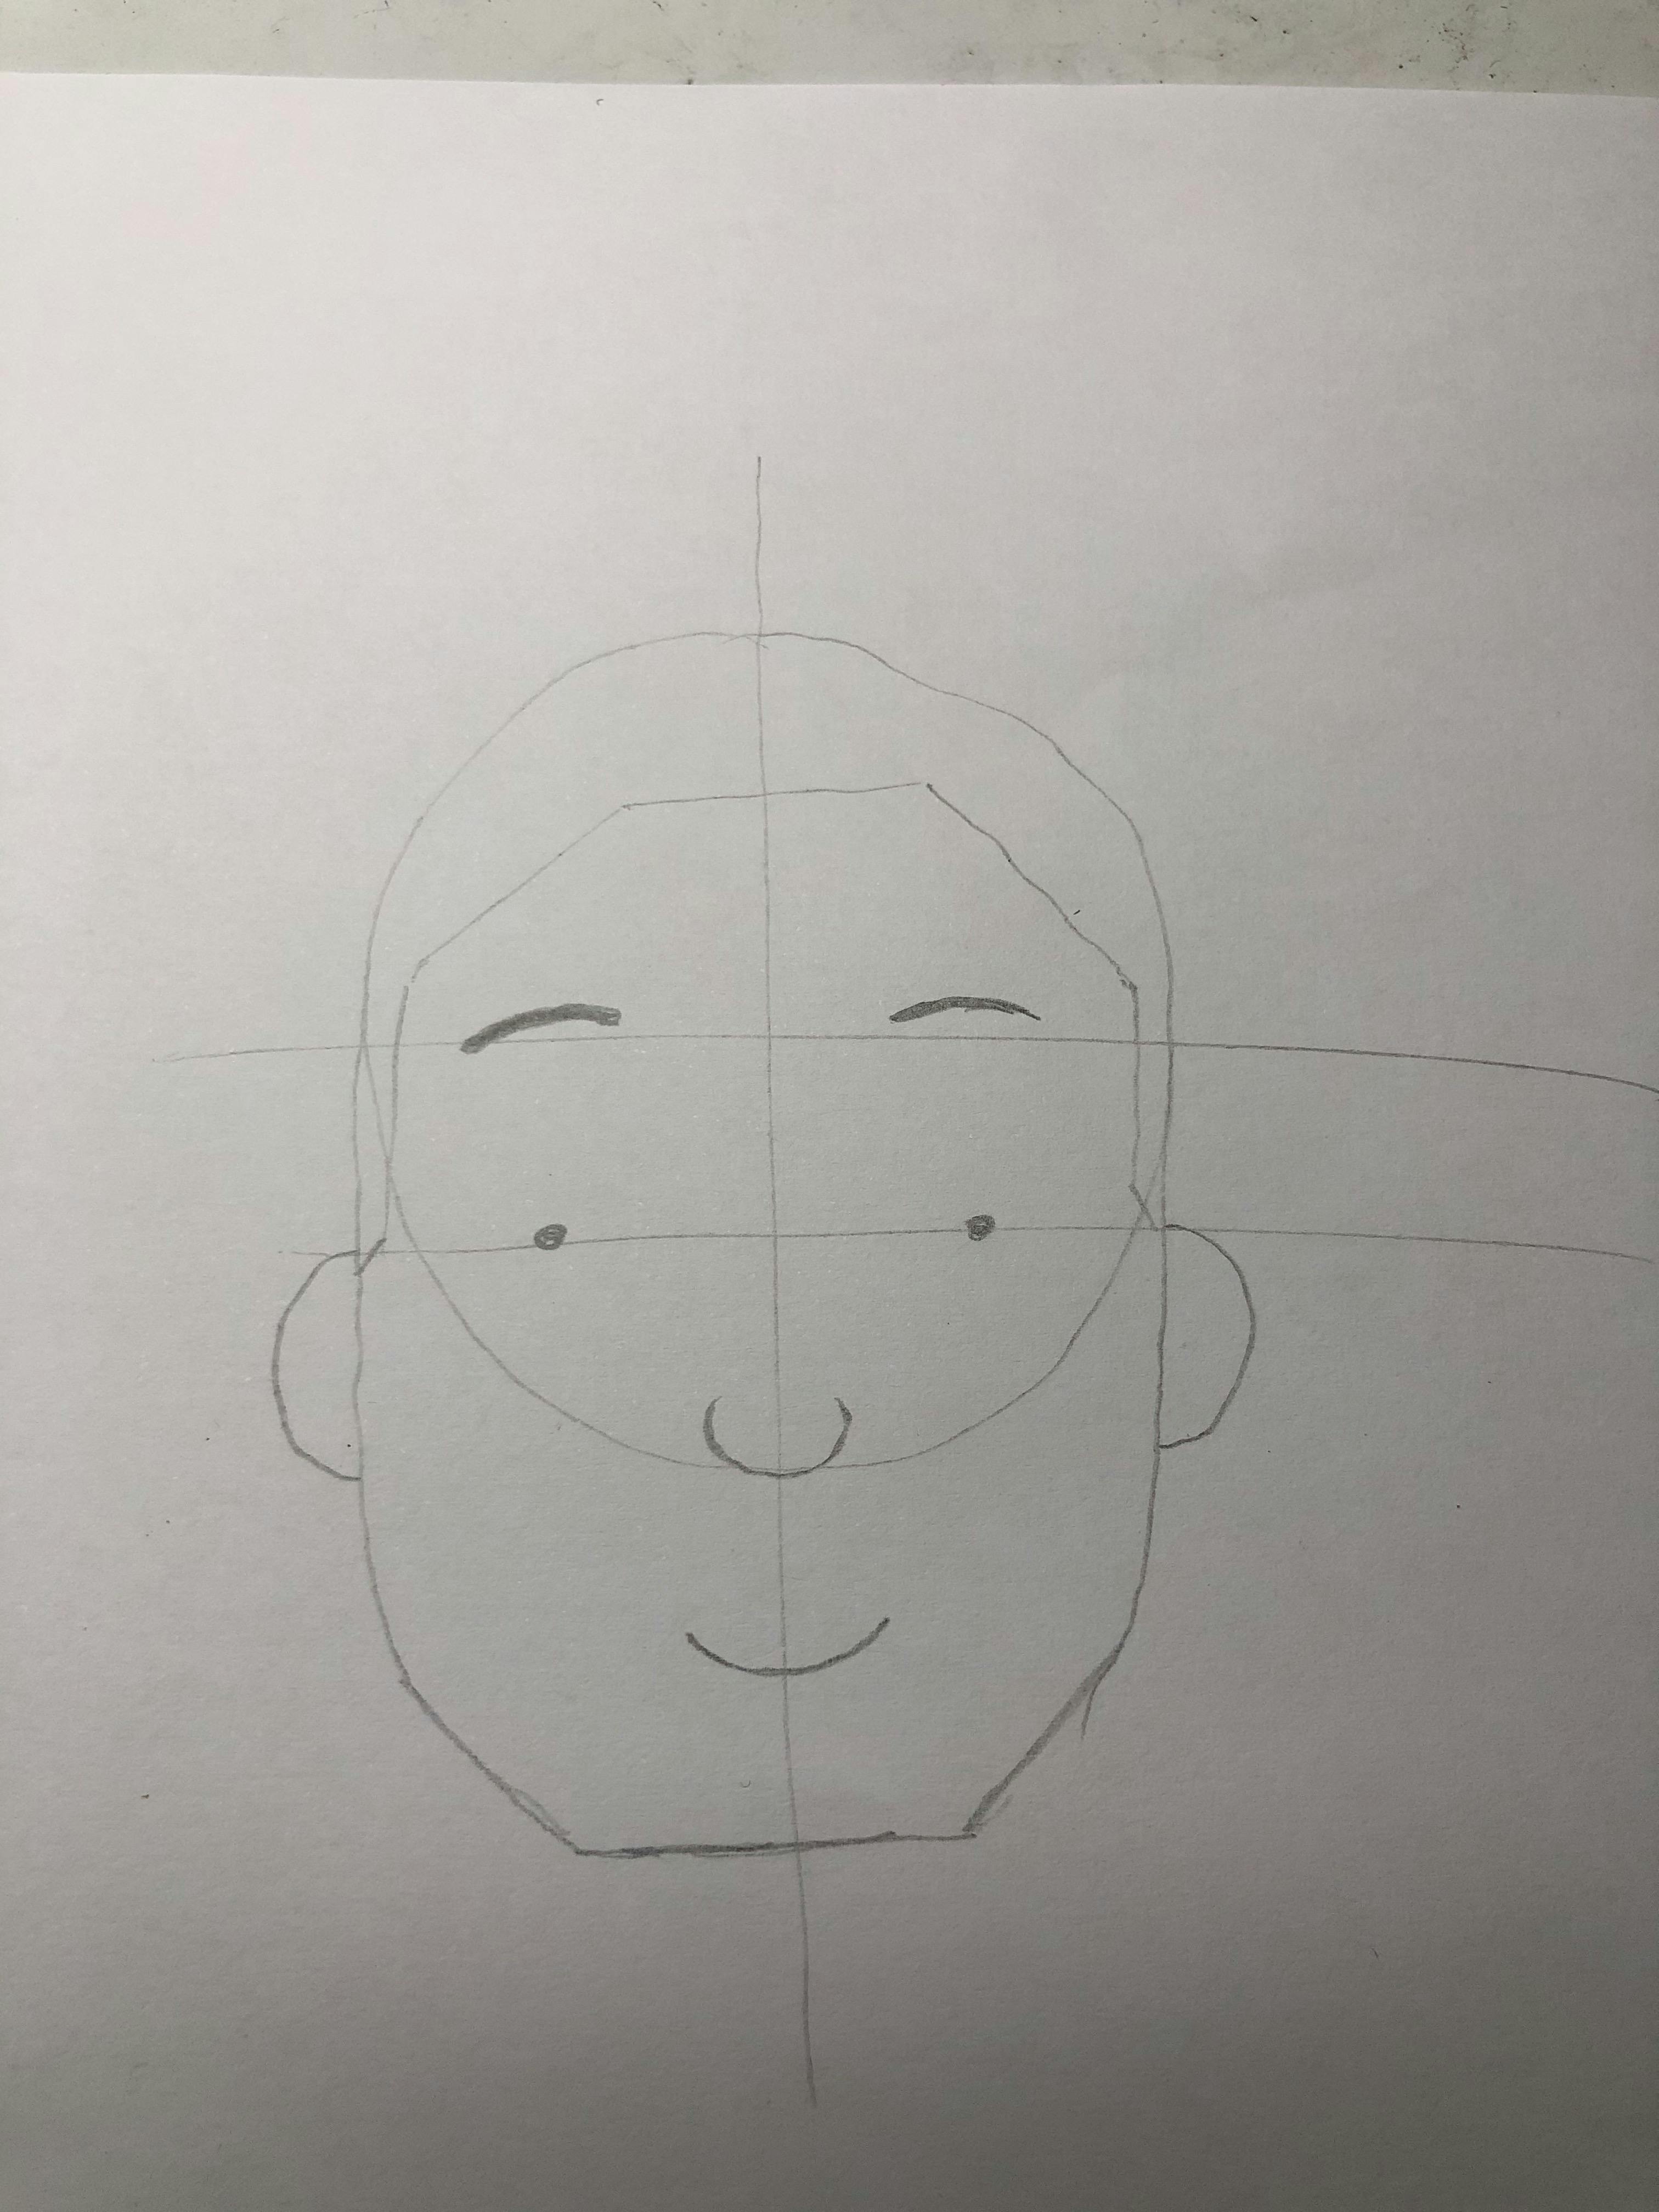
Now you've noticed that we've drawn the eyes, node and brows but we've not drawn the mouth and we've run out of space in the circle. Not to worry! Extend the vertical line dividing the circle in two a bit further. From the base of the circle, measure a little distance that's roughly the distance from the brows to the nose and mark it off. Draw a horizontal line that runs through the point you marked off but make sure it's a short line.
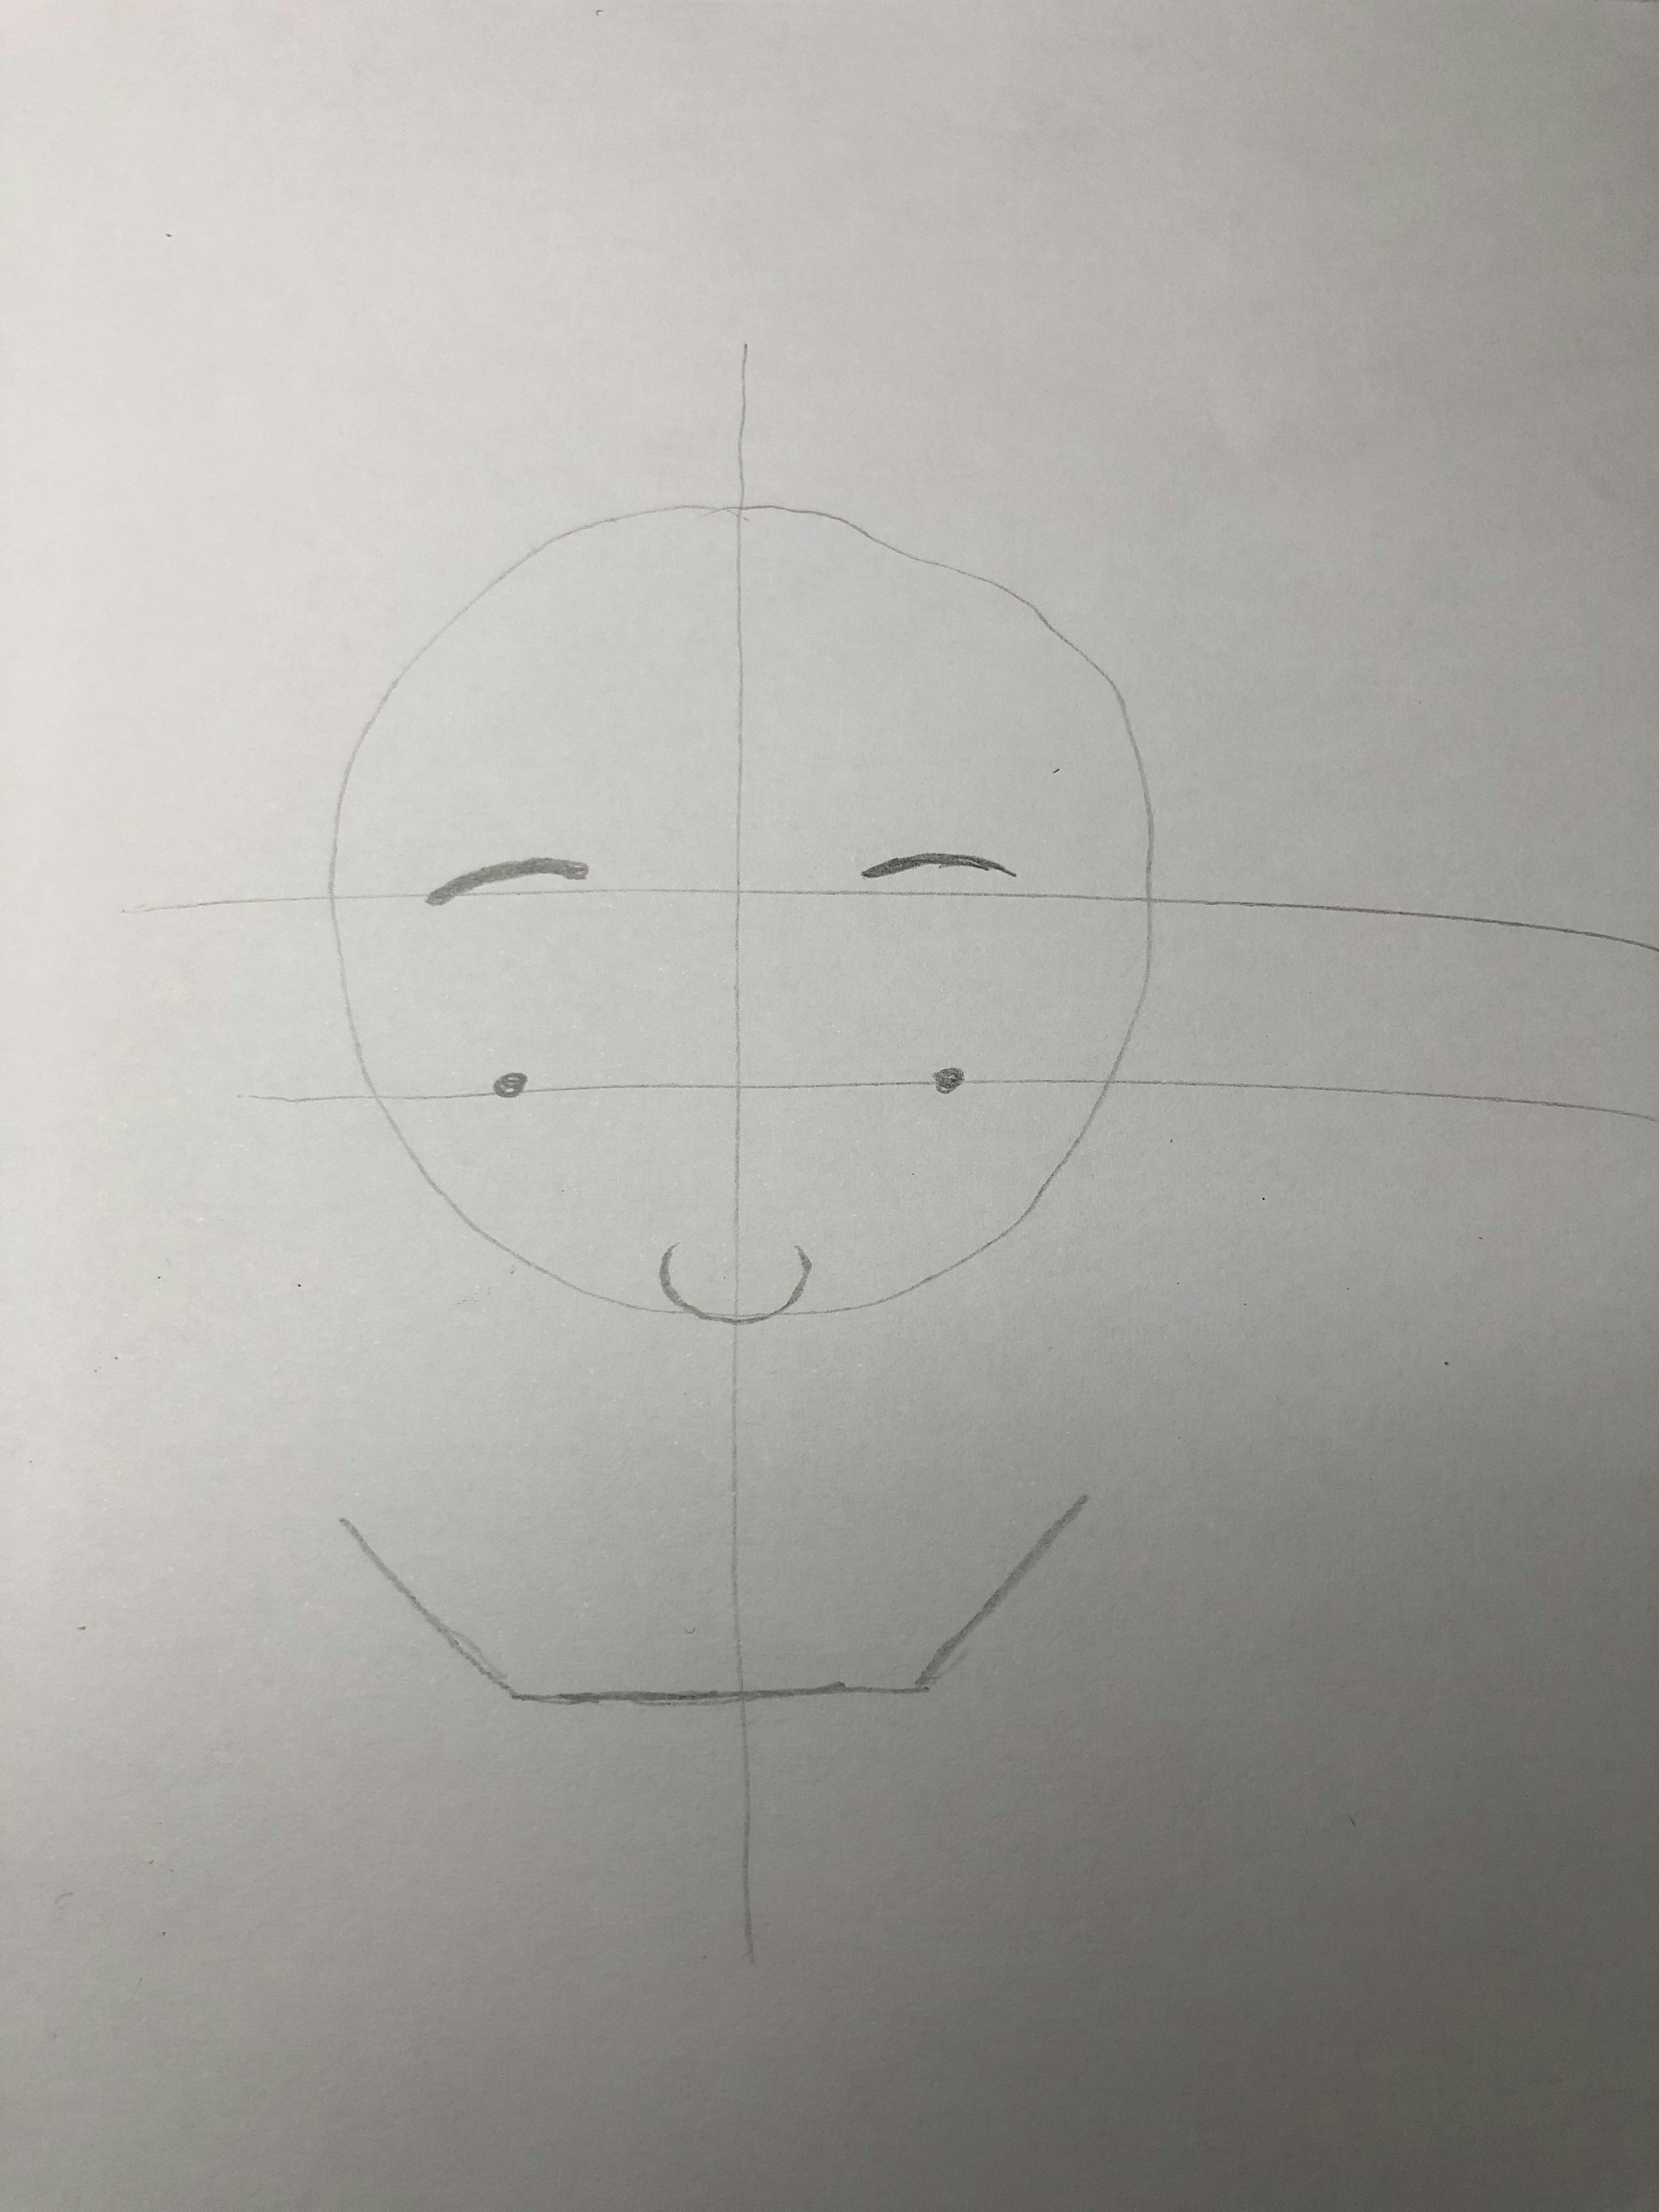
Next, go to both ends of the line you just created and draw a line that's roughly 30 degrees upwards. Let the line end on the same line as the side of the circle above.
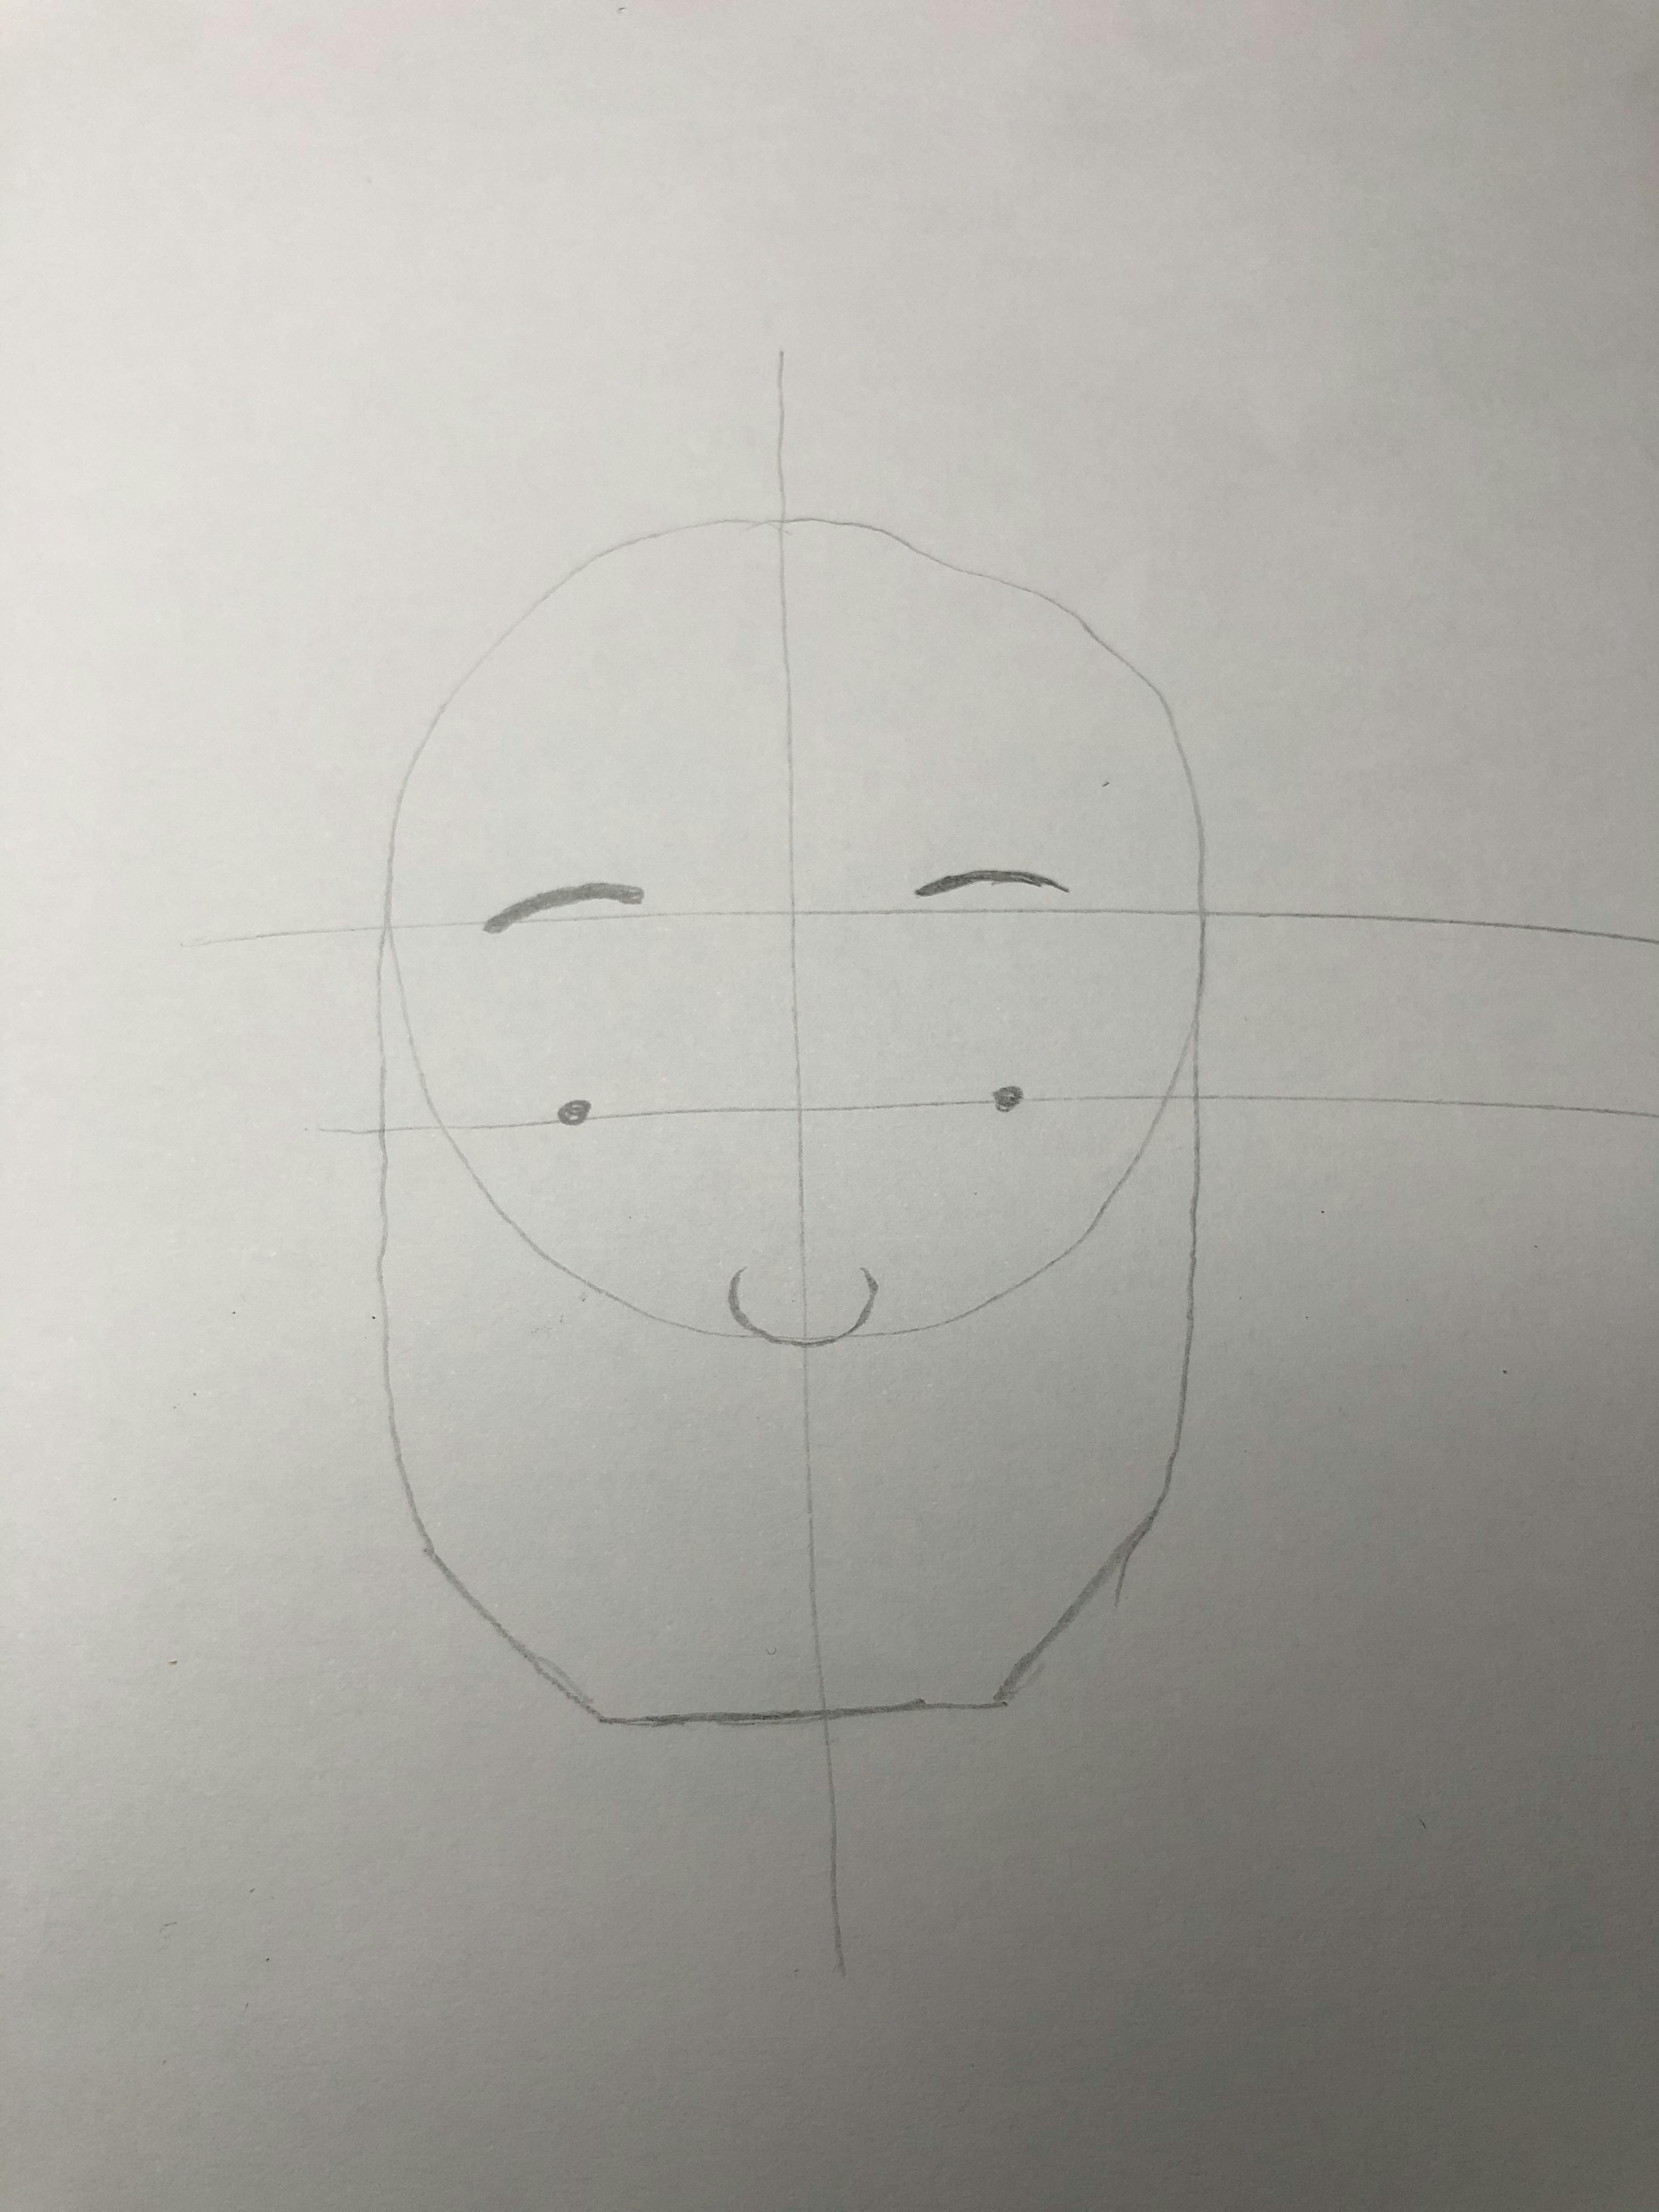
Now join the lines you just drew to the sides of the circle with roughly straight lines. Now we can clearly see it's a jaw! This jaw does appear to be squared because we're drawing a man and men typically have squarer jaws. If drawing a woman or child, you would have to make the jaws a bit more rounded but this might also depend on what you have in mind when planning your illustration so this is not a rule carved in stone.
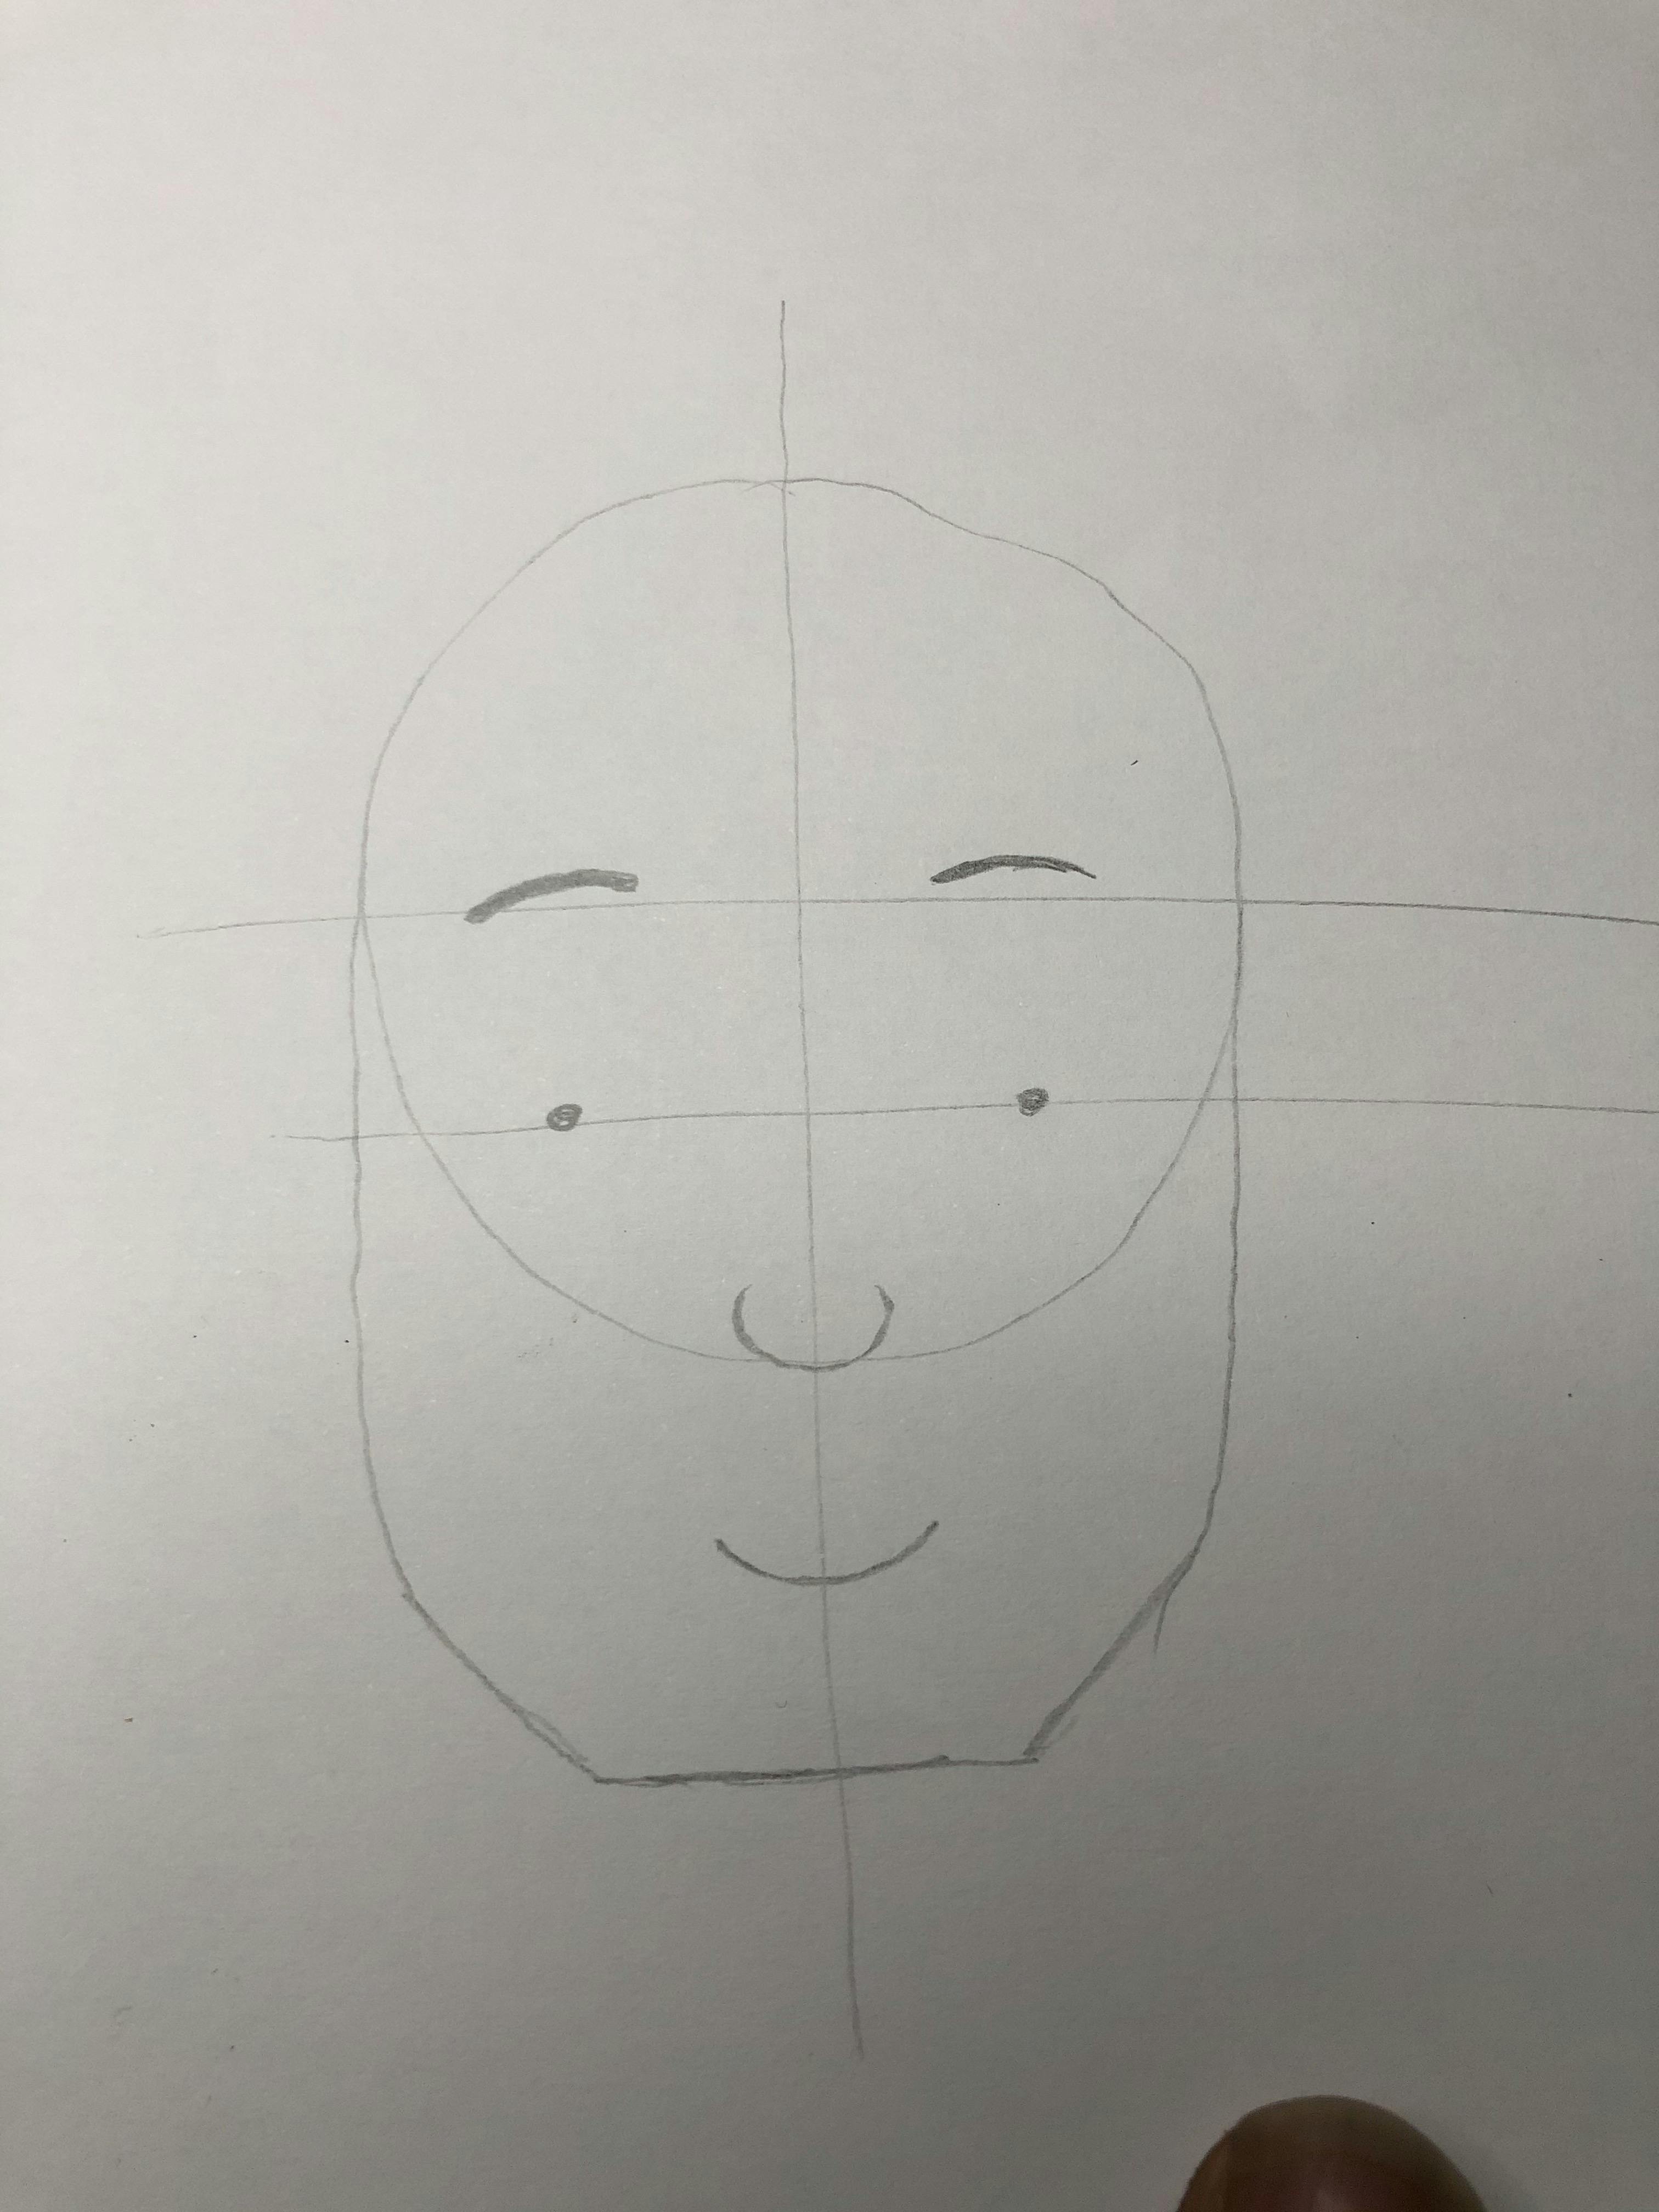
Now we can add the mouth! Pick a spot at the middle of the in between the base of the nose and the jaw and draw a small crescent line. It's curved upwards because we're going for a smiling man. In other posts, I'll show how to draw different mouth shapes to reflect different expressions.
Now to add ears. From the side of the circle, on the same line as the eyes, draw on the left a "C" shape that extends down to the same line as the base of the nose. Do the same on the right side but with a reverse "C".
Our face is now taking shape so it's time to add hair! From the top of the ears but inside the circle, extend a line upwards till just above the same lines the brows, then extend it at an angle till it's roughly at the middle of the space between the top of the circle and the first line. Form this point, draw a horizontal line till it meets the vertical line at the middle. Do the same thing on the other side. Now we have the inner side of the hair!
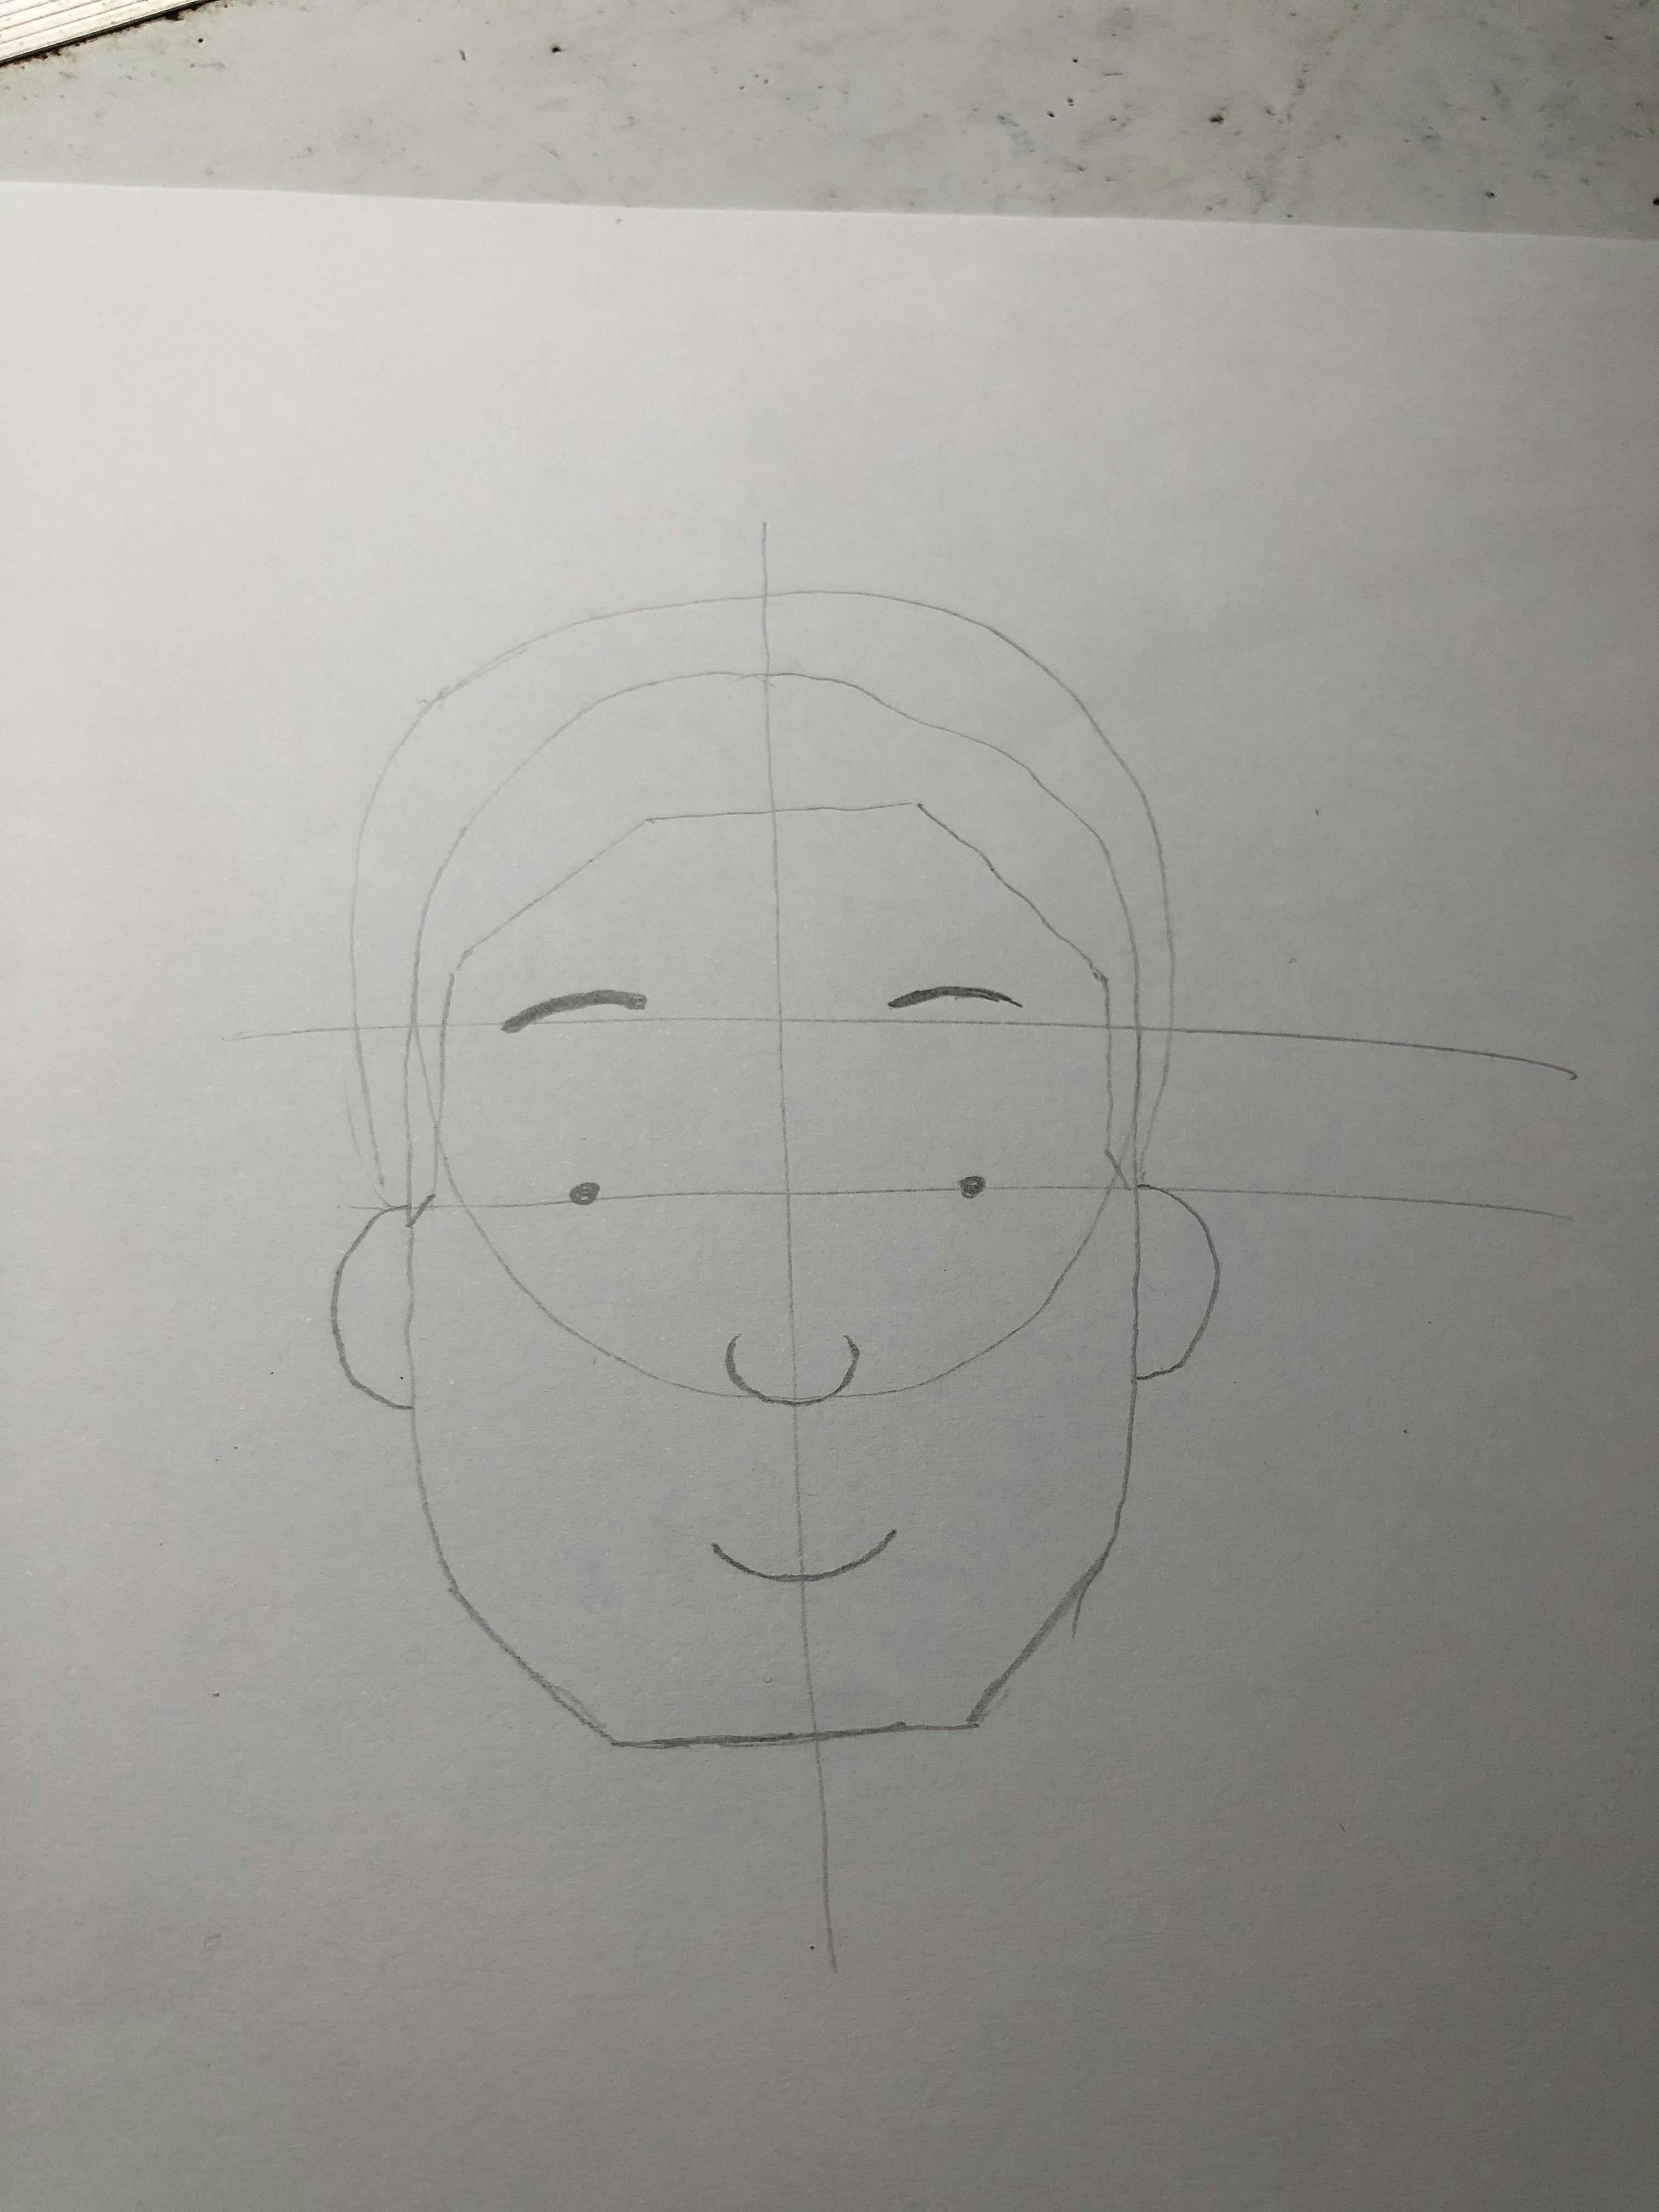
To draw the outer edge of the hair, start, again, from the top of the ear but this time, outside the circle and draw curved line that would end at the top of the other ear but would look like a halo that's surrounding the head.
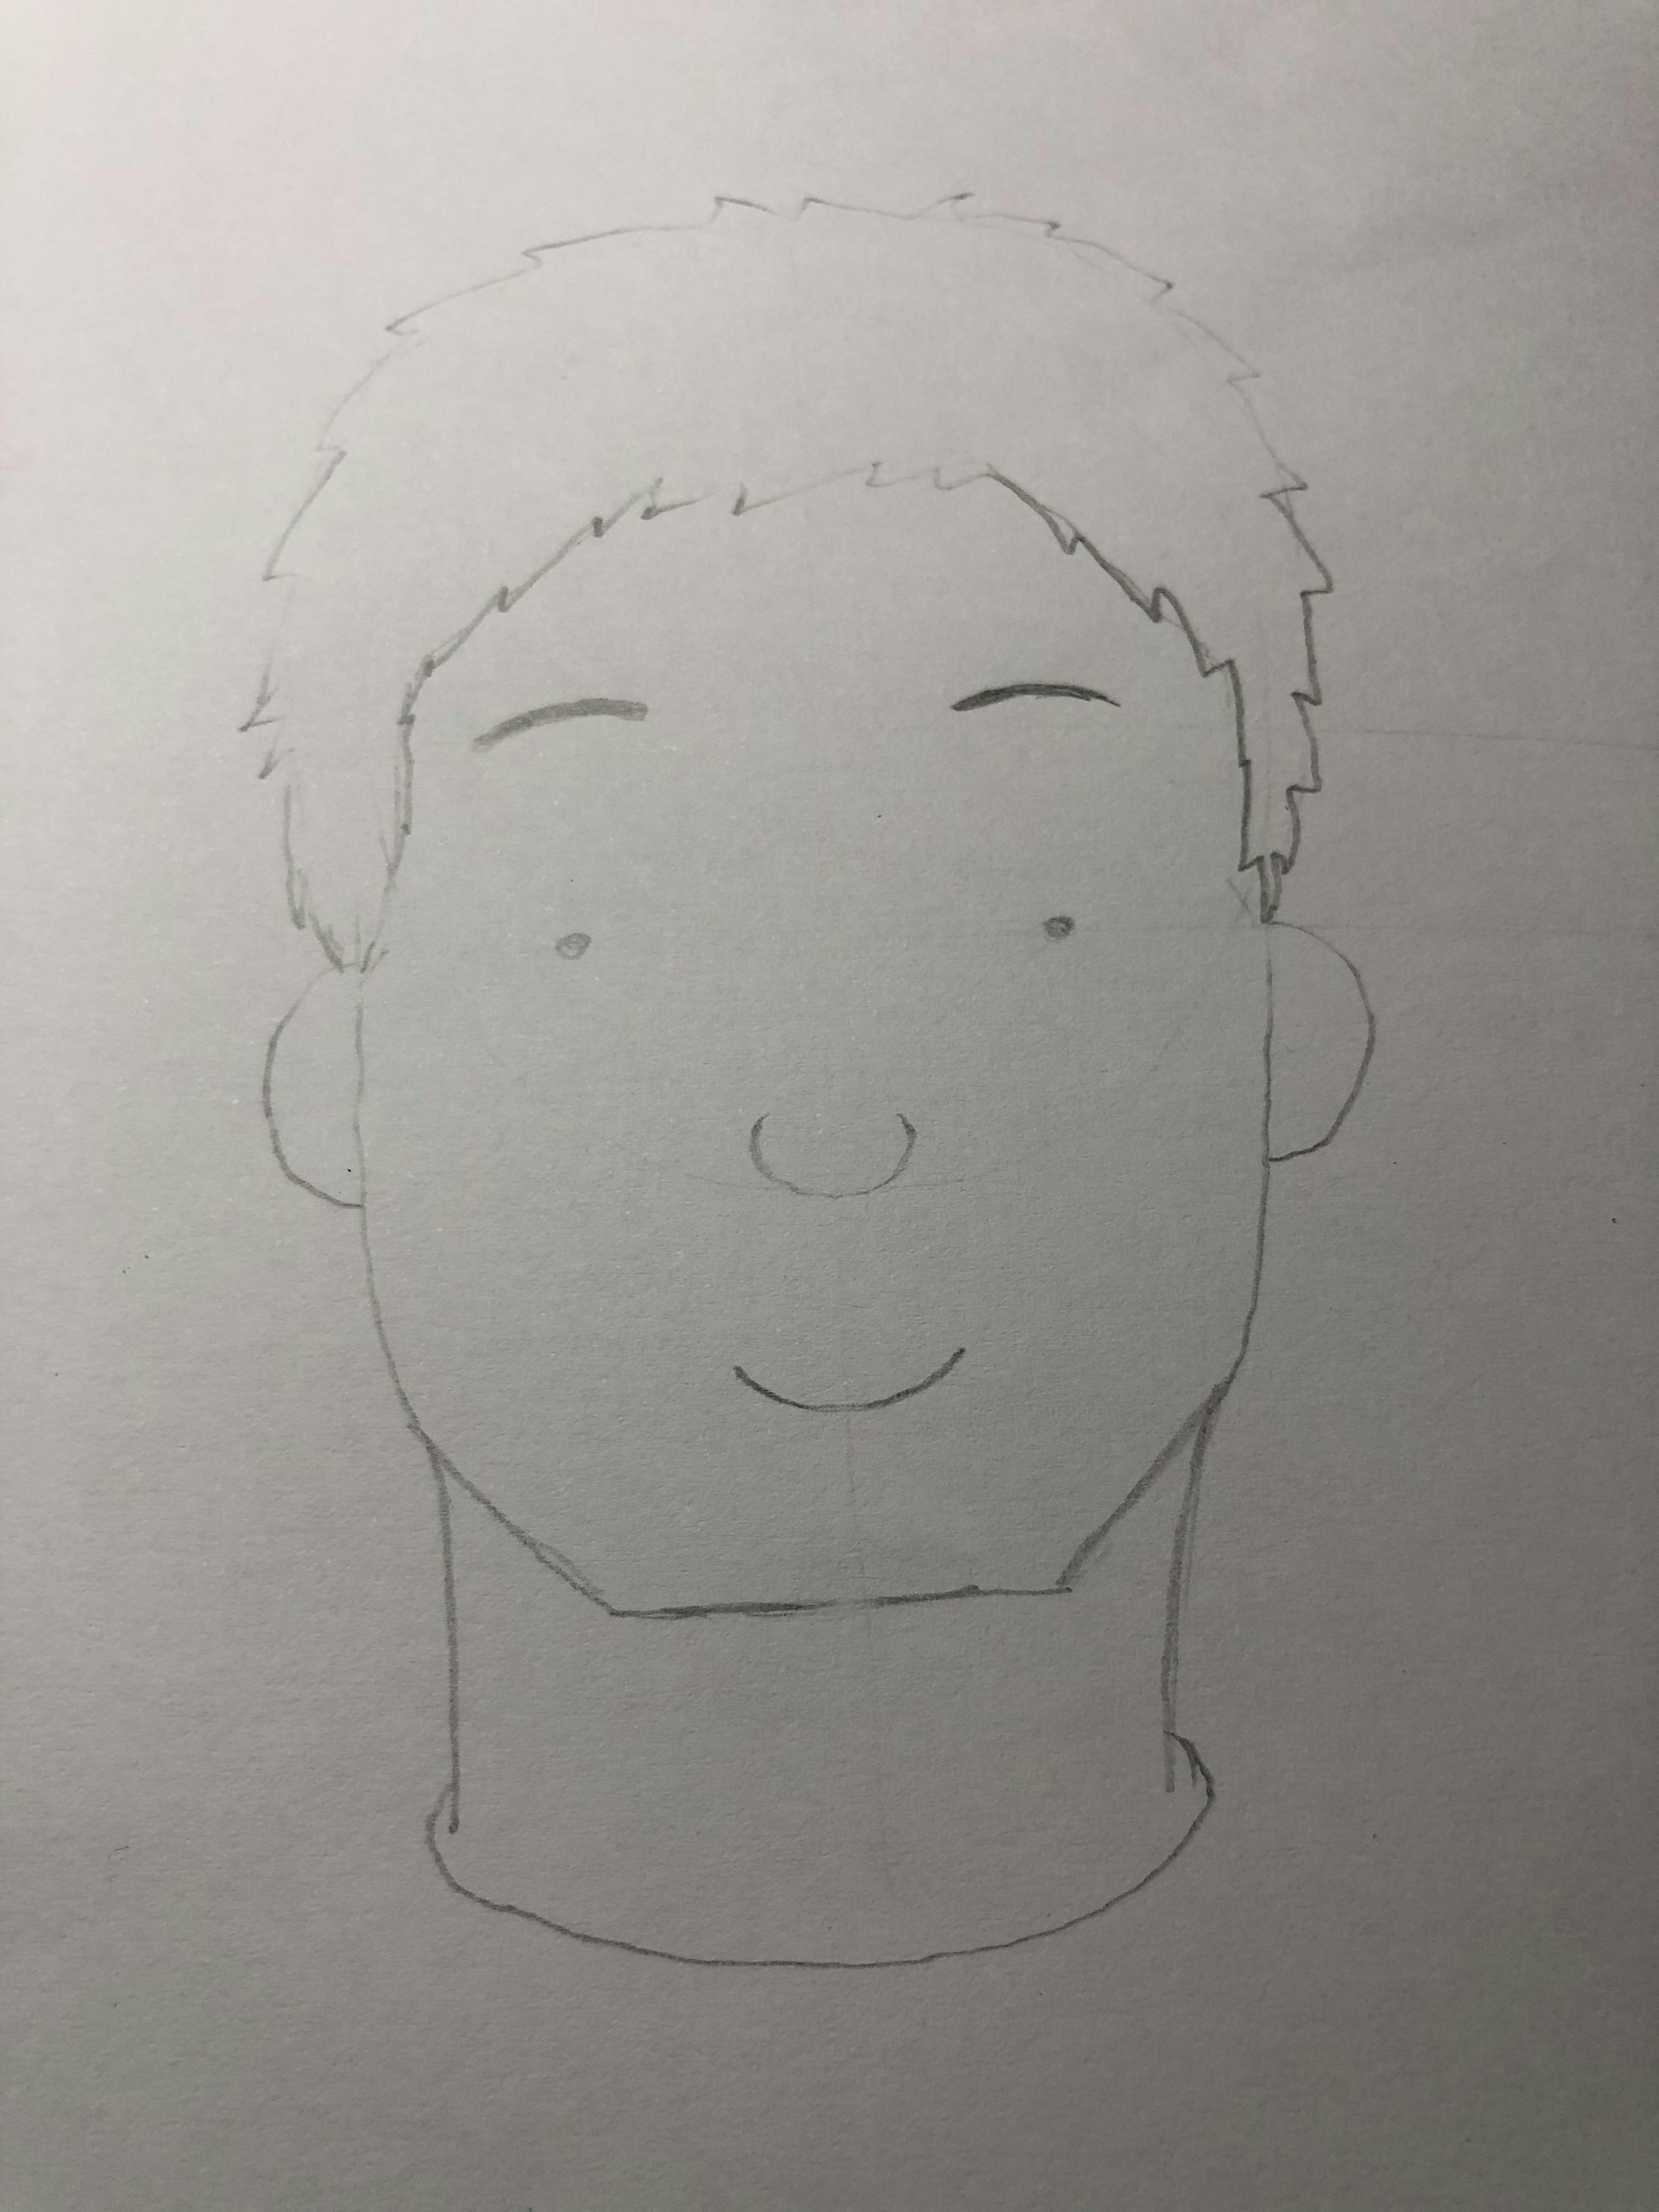
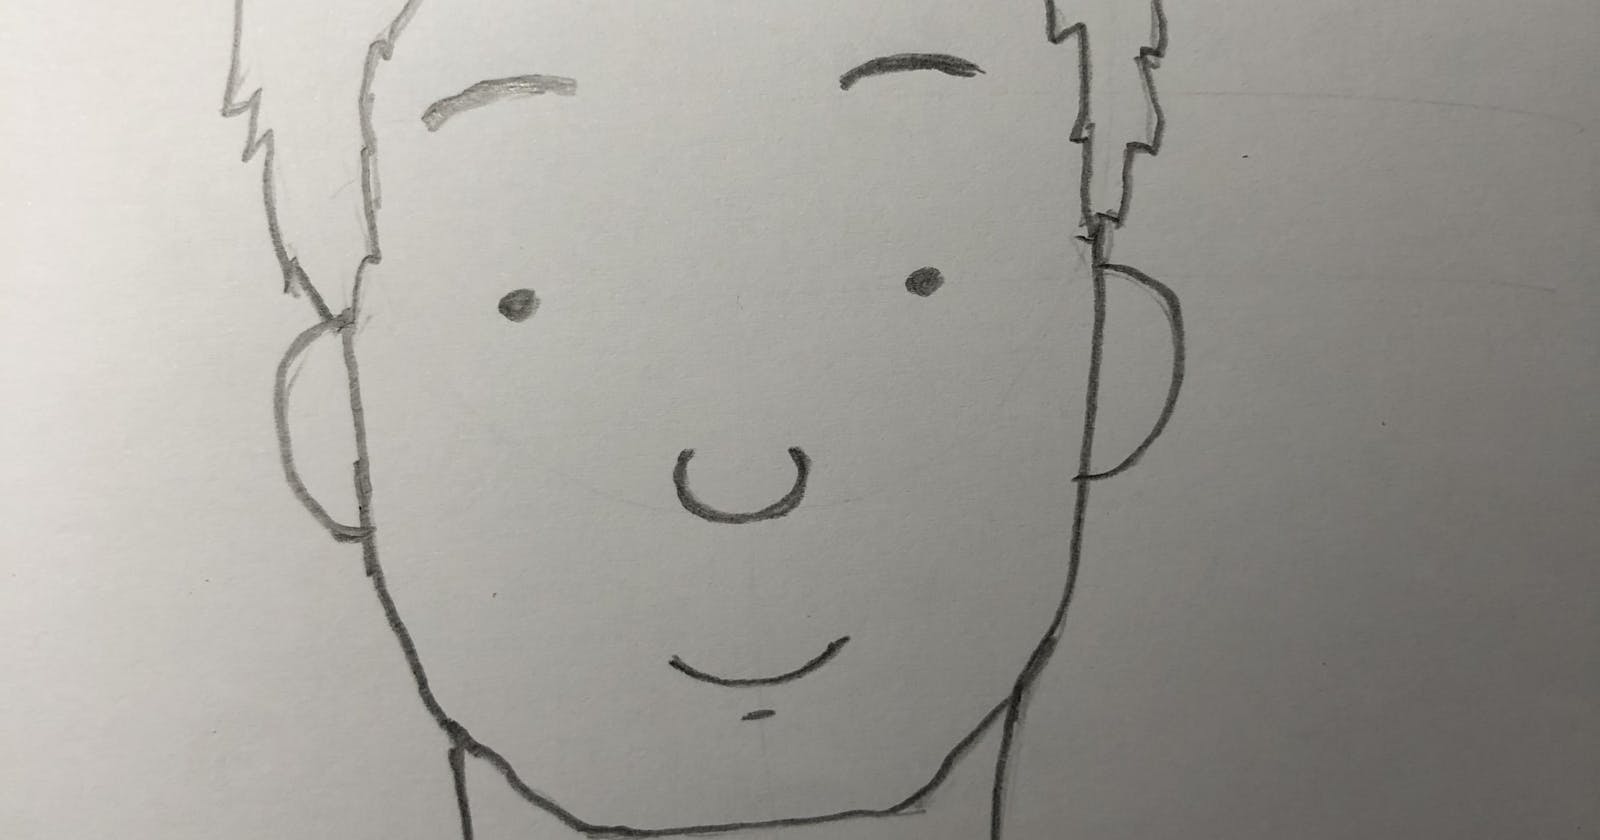
At this point, we can get rid of all the guiding lines. Using an eraser, gently erase all the initial guiding lines which include the lines of the circle and the lines dividing the circle. This is where using light lines would come in handy. If you used heavier lines earlier, you might have issues getting rid of them now. I have also gone with a man with slightly tousled hair, so I've added a few points where the hair sticks out a bit. At this point, our sketch is pretty much done. All that's left is to really make those lines stand out so we would trace over the lines left with a darker pencil using thicker lines and ....
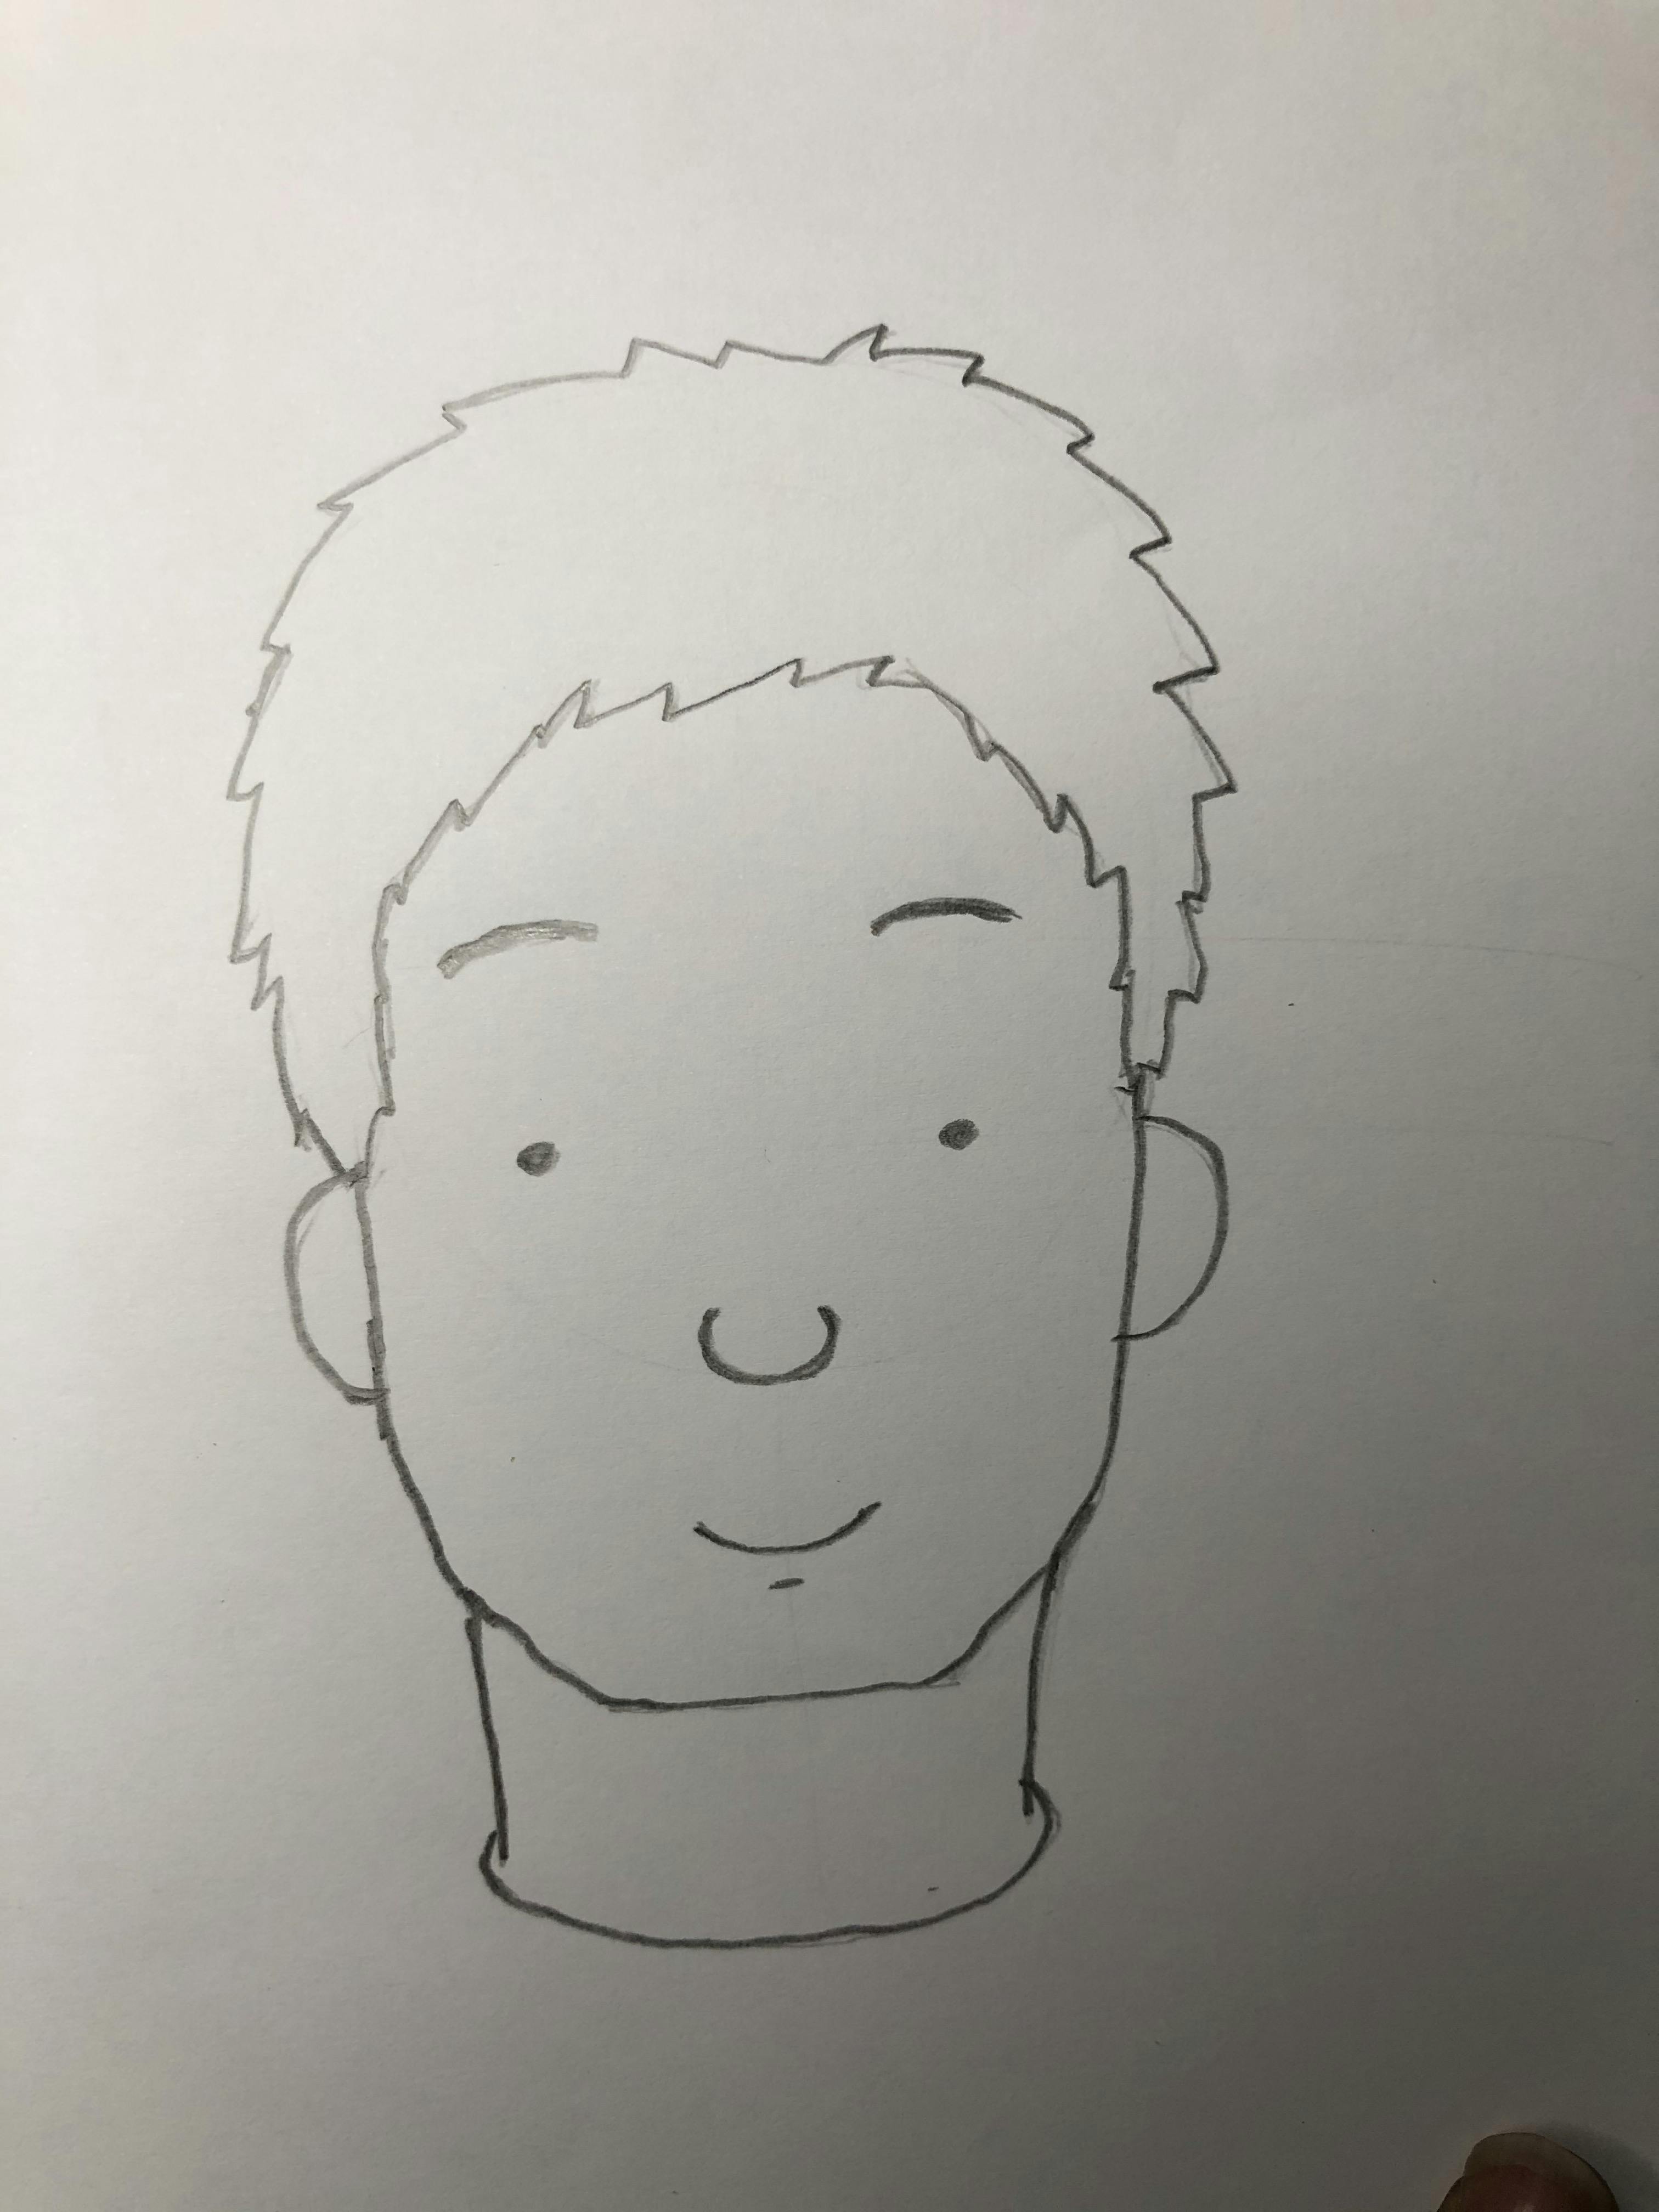
Voila! We have our simple sketch that can be used for our illustration. You can practice this a few times then try to change things a bit like the shape of the head, the position of the brows, the shape and position of the mouth..... as you continue to make changes, you'll find new ways to draw other face types and other expressions.
In my next post in my illustration sketch series, I would walk you through how to create face sketches that are not looking dead center; so sketches looking to the left or right or up or down. Keep an eye out for that!